
An overview on EnvisionNow surveys
Collect valuable feedback from the most important people in your business, your clients! Use survey results to identify areas of your business that could use improvement or celebrate where you're getting great results.
Click the links below to skip to a section:
👍 Signing Up for Surveys 📄 Assign a Survey Type
⭐ Main Page ✏️ Edit Surveys
🆕 Add a New Survey ❌ Delete Surveys
📃 Add a Page 🕵️ Survey Reports
❓ Add Questions 🔗 Send a Survey Link
👍 Signing Up for Surveys
To get started, go to your subscription management page.
Then click Signup for add on services.
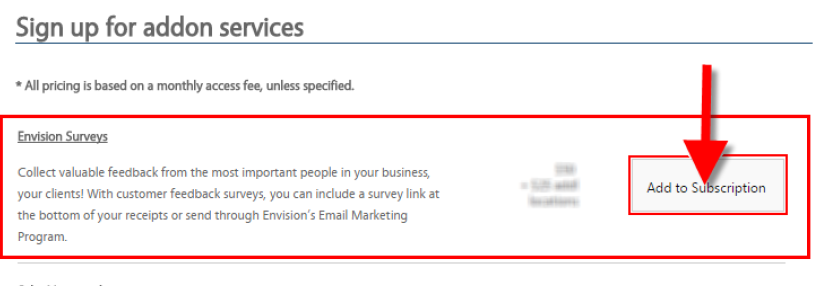
When you click Add to Subscription, you will need to view and accept the terms to continue.
Once the option has been added to your subscription, you will need to check your email for your username and password.
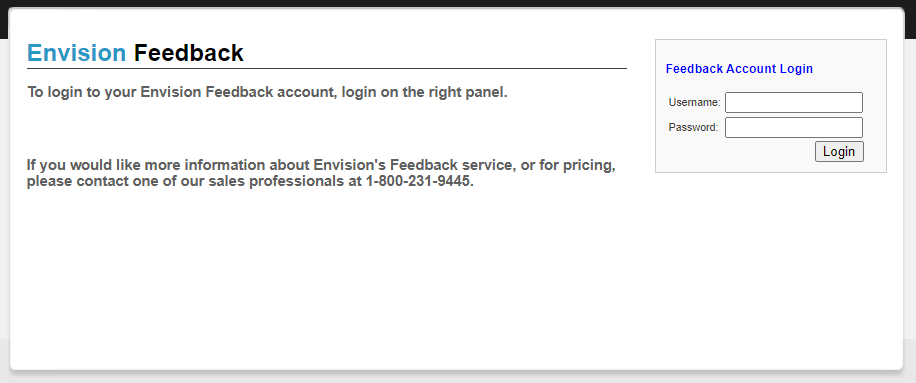
Navigate to http://envisionfeedback.com/ and enter the login credentials you were given in the email.
⭐ Main Page
When you login, you can add new surveys by clicking on the button in the top right corner.
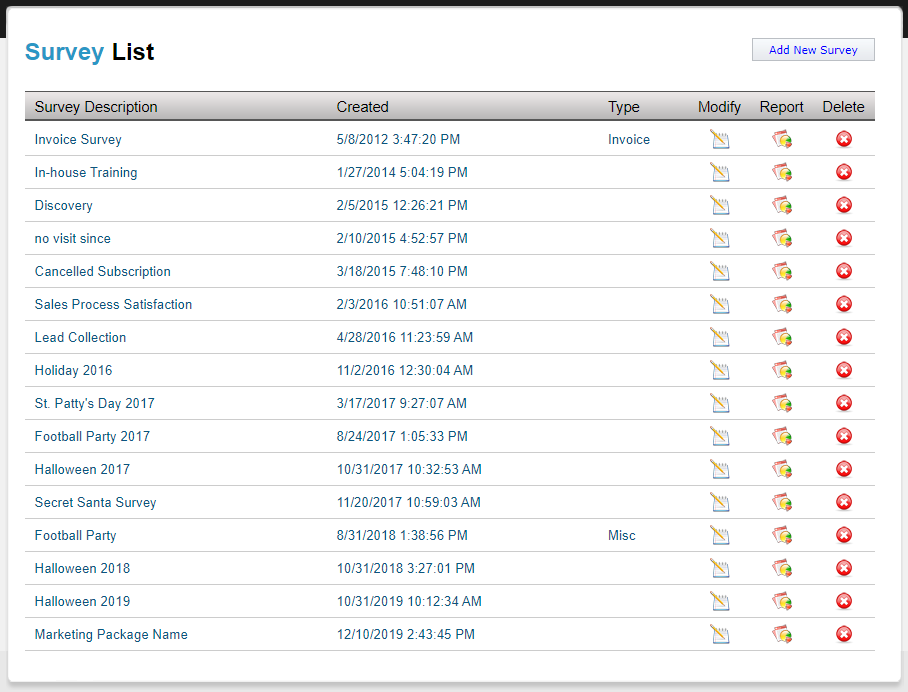
You will also find you can view your surveys by Description, Created Date, and Type. You may also Modify surveys, View Reports, or Delete a survey.
🆕 Add New Survey
Selecting the Add New Survey button will open the options tab, allowing you to name the survey and set various options. When you have finished entering your options, click Create Survey at the bottom of the screen.

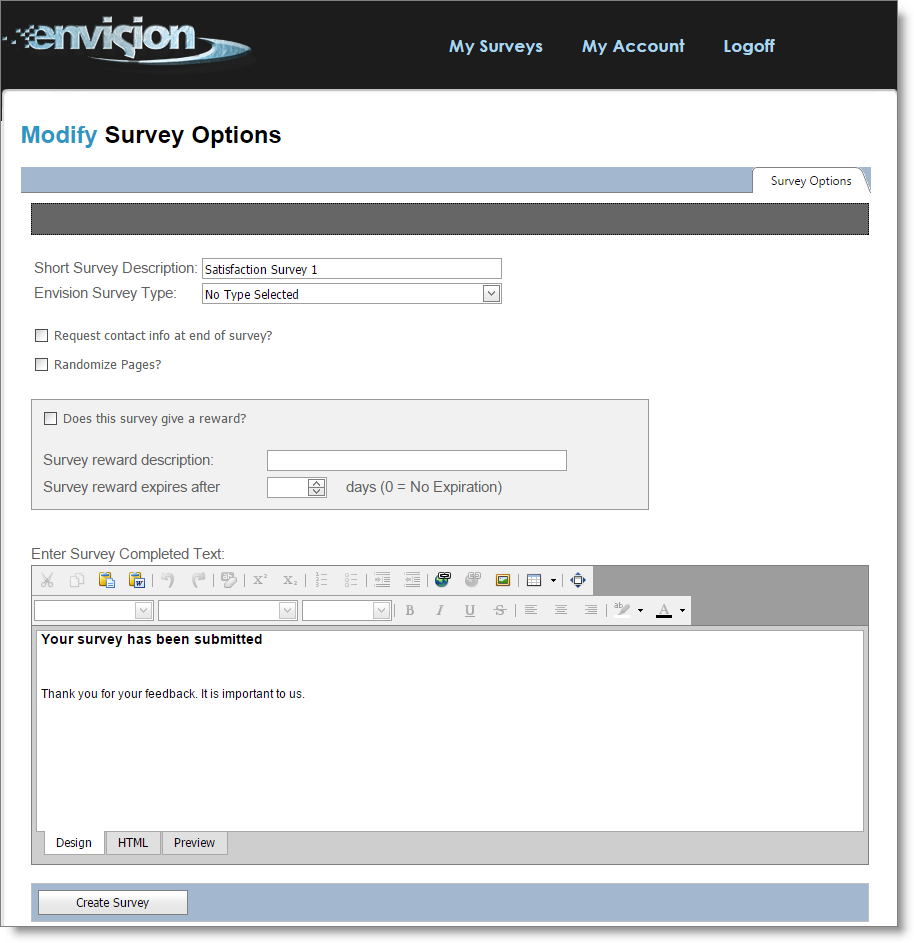
Short Survey Description
Enter a descriptive name for the survey. This name is only visible to you when logged into
EnvisionFeedback.com. Example: "Marketing Blast 06/2019".
Survey Type
Do not select a survey type when first creating the survey. If you do make a selection now, it will
not save. This will allow you to build the survey before it 'goes live' to clients.
Request Contact Info?
Check this box if you wish to ask for client information at the end of the survey. It is not required.
Randomize Pages?
Check this box if your survey will have multiple pages and you have no preference of which order
they will show.
Does this survey give a reward?
Check this box if you will offer an incentive for clients to complete the survey.
- Survey reward description: Detail what the incentive is for clients. Example: "10% off your
next retail purchase" - Survey reward expires after: Enter the number of days the client will have to use the
incentive. Recommended: 90-120 days.
Enter Survey Completed Text
You may enter custom text and images here to show on the survey completion page.
📃 Add a Page
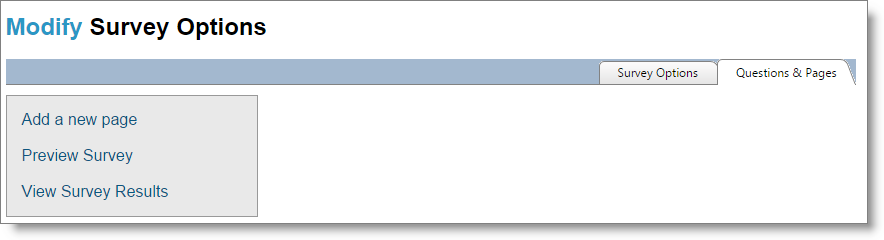
Once a survey is created, you can add new pages to the survey. Select to Add a New Page, and you will then be able to enter questions on the page.
You can have multiple pages with just a few questions per page, or you can have up to 10 questions on one page. Keep in mind that when more pages are on the survey, the fewer clients will complete it.
An example of several pages with several questions per page:
Page 1: Our Business
Question 1: How did you book your appointment? (Online, Over the phone, Walk-in)
Question 2: What was the appearance of the business when you arrived?
Page 2: Our Staff
Question 1: Were you greeted promptly with a smile? (Yes, No)
Question 2: Please rate our front desk staff. (Excellent, Above Average, Average, etc.)
Question 3: How would you rate your service provider today? (Excellent, etc.)
❓ Add Questions
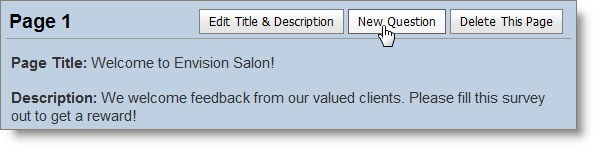
When a page has been made, select to add a new question.
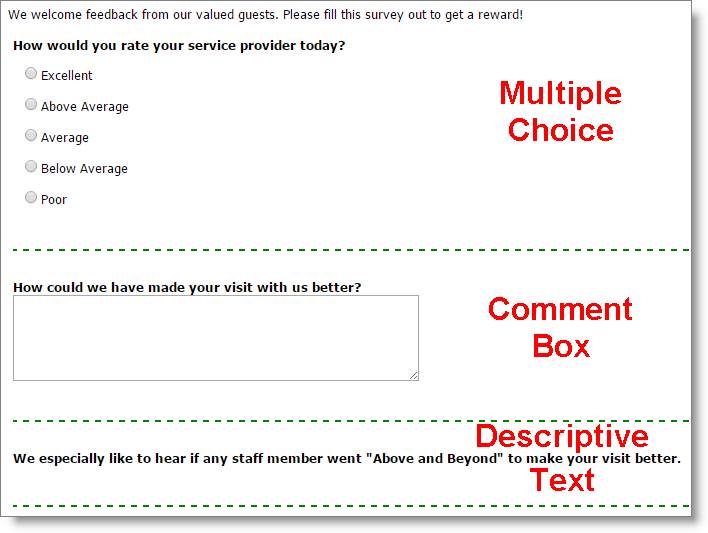
Select the type of question.
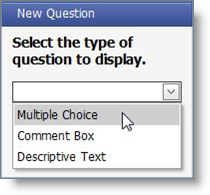
Multiple Choice - Allow survey participant to choose from a range of options.
Comment Box - Survey participant can type a response.
Descriptive Text - Does not offer a response field, allows for entry of information for the
participant to view.
What the client sees:
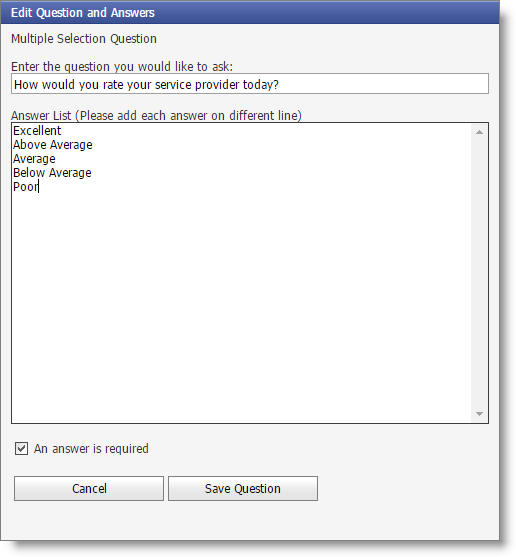
Enter the question (and response options, for multiple choice) and choose to save the question.
📄 Assign a Survey Type
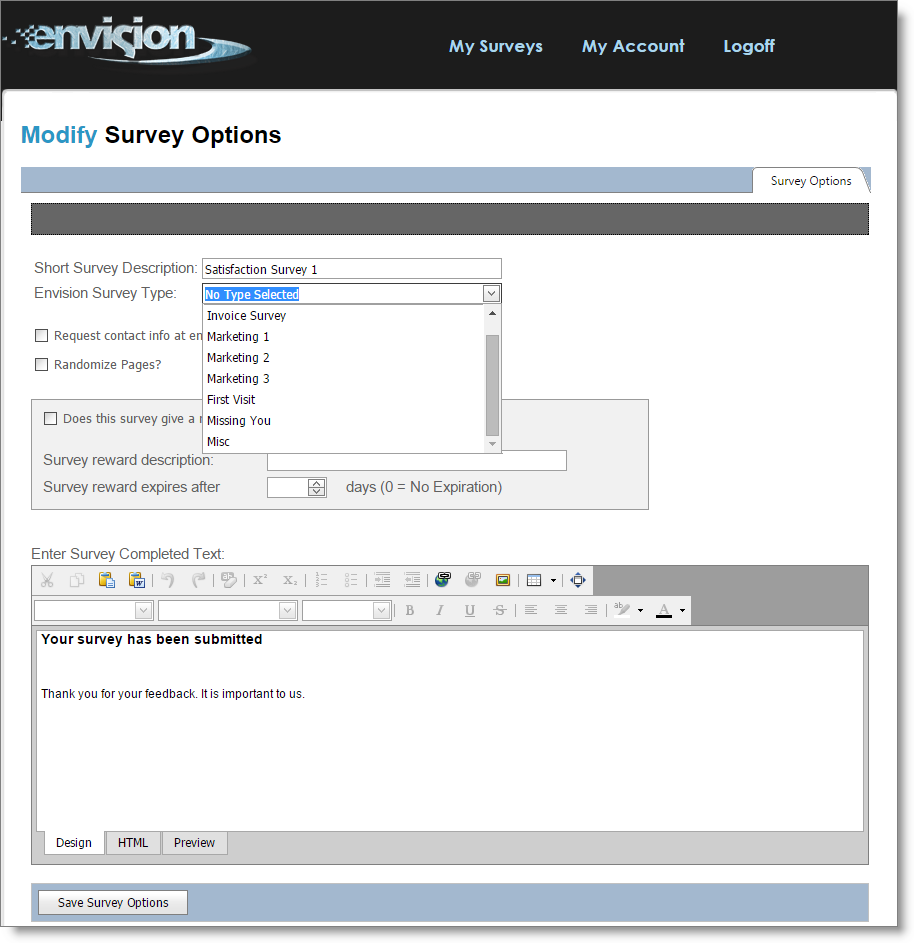
Once all of your pages and questions have been added, select the Survey Options tab on the top of the survey creation page.
Select the Invoice survey type from the dropdown box, then click to Save Survey Options in the lower left.
✏️ Editing a Survey
Editing a survey before launch will cause no reason for concern. However, once a survey has been
used, be cautious about editing or deleting questions or pages on the survey.
We do not recommend editing or deleting questions, as you will lose all associated response statistics and the responses themselves.


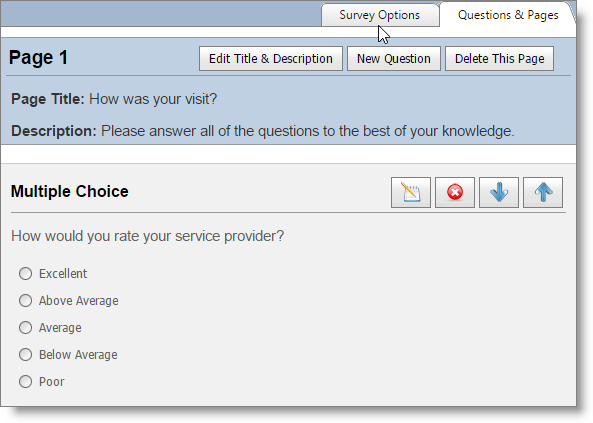
Move Questions
You may move questions up or down on the page by using the blue arrow buttons on the
question.
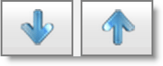
Delete Questions
You have the option to delete questions by using the red "x" button. We do not recommend
editing or deleting questions on an active survey.
Edit Questions
You have the option to edit questions by using the notepad and pencil button. We do not
recommend editing or deleting questions on an active survey.
❌ Deleting a Survey
From the main page, you have the option of deleting a survey. We do not recommend editing or
deleting active surveys, as you will lose all associated response statistics and the responses
themselves.
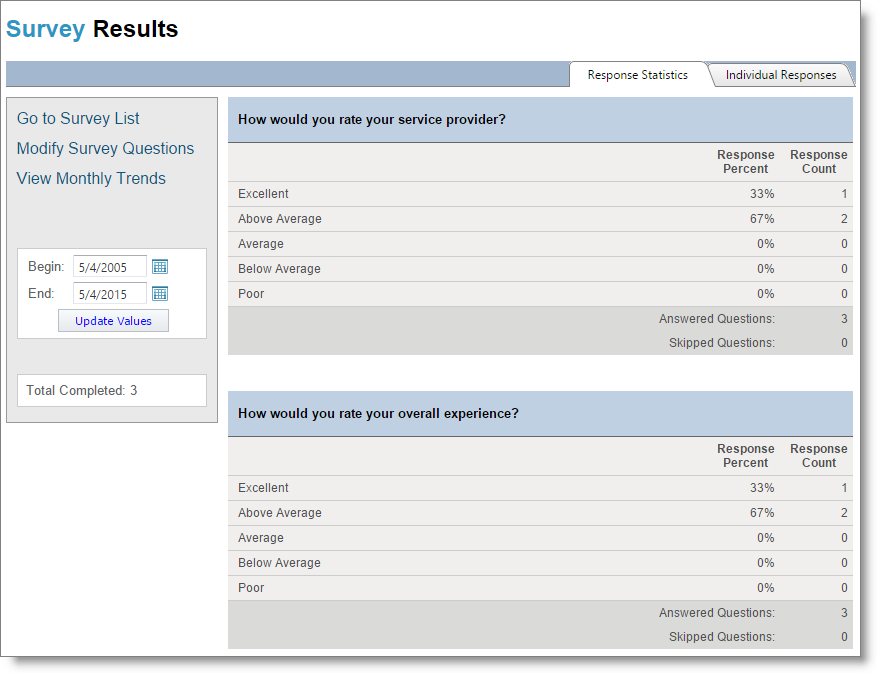
🕵️ Survey Reports
Selecting the report icon on the main page will show how participants have answered the survey
questions. You can set a specific date range to the left and click Update Values to refresh the
responses for a smaller date range on a long-running survey.
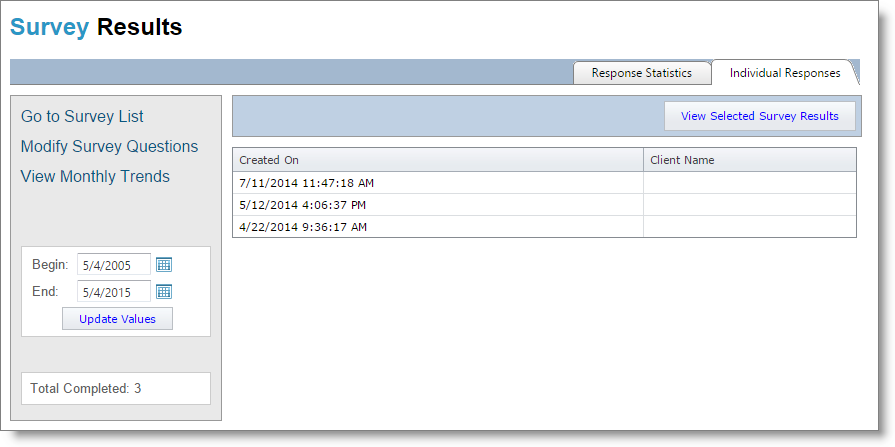
Selecting to view individual responses on the tab in the upper right will show the participant
responses and their name, if they entered that information. You may use this as a way to target
negative responses.
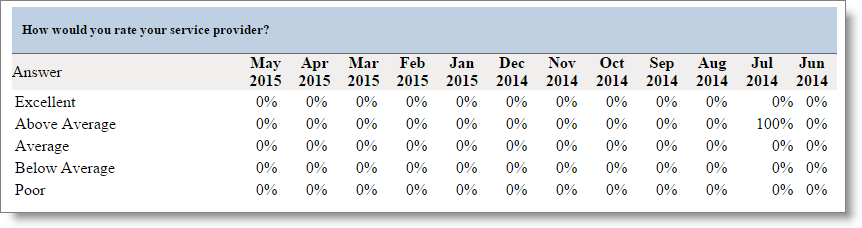
Selecting to View Monthly Trends on the left will show the survey response percentages over the last year. This can be used to watch for a change over time in responses.
Account Settings
Selecting account settings from the main page will allow you to set options for the account. These
settings apply to all surveys.
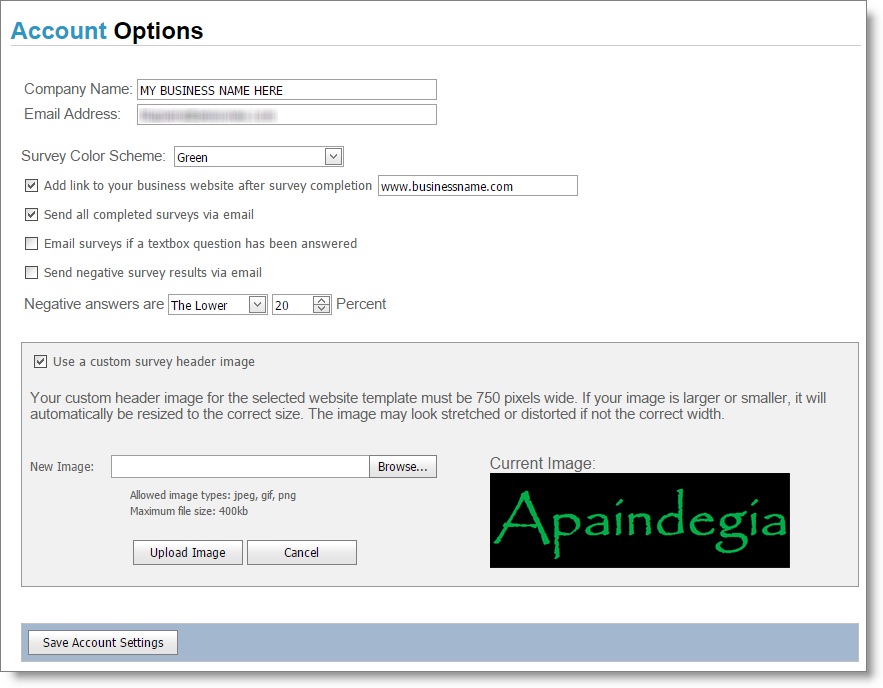
Company Name
Enter the company name.
Email Address
Enter an email address where you wish survey responses to be delivered.
Survey Color Scheme
Choose from this box a color that matches your business logo.
Add link to your business website after survey completion
Check the box and enter your complete business website address into the field if you wish this to
show on the completion page.
✔️ EnvisionFeedback.com can send you emails (to the email address entered above), based on participant responses and your selection. You should only choose one of the following:
Send all completed surveys via email: EnvisionFeedback.com will send all completed surveys.
Email surveys if a textbox question has been answered: EnvisionFeedback.com will only send the survey via email if a textbox has been filled in.
Send negative survey responses via email: EnvisionFeedback.com will send you negative responses.
Negative answers are
Here, you can designate what a negative response is. For example, if "The Lower" is selected,
then response options to the bottom will be viewed as negative and response options to the top
will be considered positive. (Excellent, Above Average, Average, Below Average, Poor)
Use a custom survey header image
Check this box if you wish the survey page to display an image or logo at the top of the survey
response page.
New Image / Upload: Navigate to the image you wish to use and choose to upload. The image
may be JPG, PNG or GIF file types, and the maximum size is 400kb.
🔗 How to send a survey via link
If you do not want the survey on your receipts, you can copy the survey link and send via email.
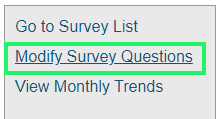
To find the survey link, navigate to http://envisionfeedback.com/ and enter your login credentials.
Select the survey you wish to send then select Modify Survey Questions on left:
Click the Survey Options tab. You will then see a grey box at the top with the survey link:

You can now copy and paste this link to send it to your clients.