
Learn how to setup general, client, employee and treatment settings within your Company Settings.
General Tab
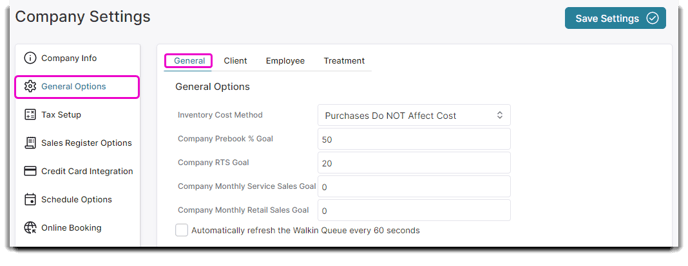 Inventory Cost Method
This company setting allows a company to select the method they would like costs calculated after receiving a PO. These different methods can adjust the cost of items based on what has been received. This allows you to calculate the cost in a way that is up-to-date and most effective for your business. Does Not Affect Cost, Average or LIFO are the options available.
- Does Not Affect Cost will not affect the cost of received items.
- The Average method will calculate an average price between what the product was received at and what it is being received at using the following formula: ((QTY ON HAND * CURRENT COST) + (RECEIVED QTY + RECEIVED COST) ) / NEW TOTAL QTY. If you have an item with a quantity of 1 and a cost of $10 and a new PO you receive with 1 the same item but the new cost is $20 – then the average setting would change the cost of the item to $15.
- The LIFO method of receiving inventory will change the new cost to the last received cost of the item, meaning the RECEIVED COST is assigned to the inventory item. The old cost is $10 for an item– you now receive it at $15. LIFO will now change the cost of the item to $15.
Company Prebook % Goal
Enter the prebook percent goal for your business. This number is used in the Dashboard screens.
Company RTS Goal
Enter the retail to service percentage goal for your business. This number is used in the Dashboard screens.
Company Monthly Service Sales Goal
Enter the monthly service sales goal for your business. This number is used in the Dashboard screens.
Company Monthly Retail Sales Goal
Enter the monthly retail sales goal for your business. This number is used in the Dashboard screens.
🔲Automatically refresh the Walkin Queue every 60 seconds
Check this box if you have multiple devices accessing the walk-in queue. This will keep each device up-to-date.
Client Tab
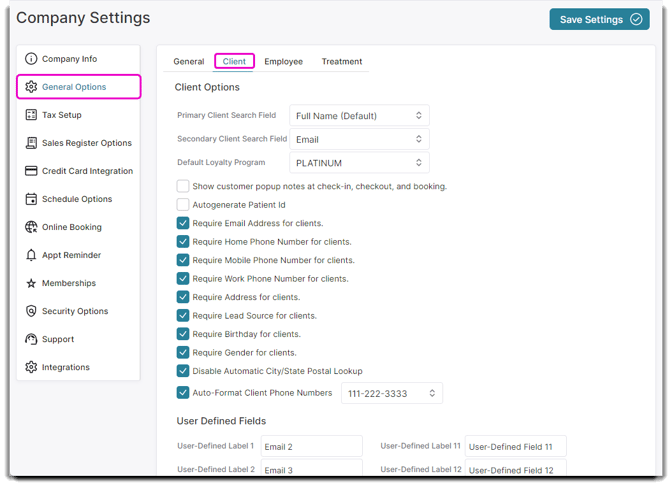
Primary Client Search Field
Select which option you would like to view when selecting clients in the appointment calendar. Full Name will be the default option.
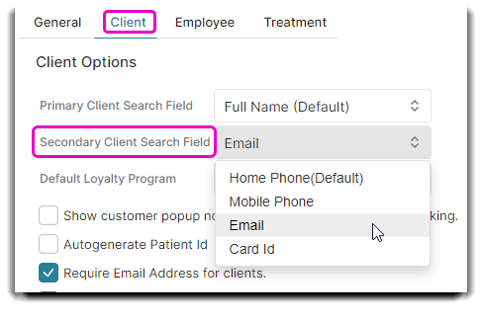
Secondary Client Search Field
Select which option you would like to view when selecting clients in the appointment calendar for booking, and the sales register for ringing up.
Default Loyalty Program
You may set a default Loyalty Program here if you would like all clients to be under the same Loyalty Program without having to individually assign a loyalty program per client. You may manually assign a loyalty program to a client in the client list if you would like them to be under a different Loyalty Program.
When a default loyalty program is selected here, the Loyalty Program will not be displayed on the client's record. They will automatically receive Loyalty Points based on your plan.
🔲Show Customer Popup Notes At Checkout & Booking
Select this box to display client popup notes when creating an appointment for the client and when selecting the client in the Sales Register.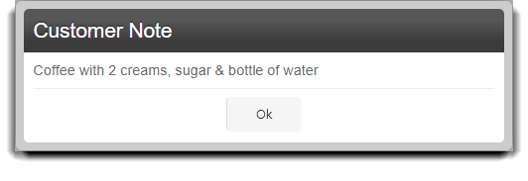
🔲Autogenerate Patient ID
Select this option if you want each client record to have its own automated patient ID upon the creation of a client record. This option is used if you need unique identifiers for clients/patients to organize patient records.
🔲Require Email Address for Clients
Select this option to require that an email address be entered when new clients are added to the system or selected for editing.
🔲Require Home Phone Number for Clients
Select this option to require that a phone number be entered into the home phone field when new clients are added to the system or selected for editing.
🔲Require Mobile Phone Number for Clients
Select this option to require that a phone number be entered into the mobile phone field when new clients are added to the system or selected for editing.
🔲Require Work Phone Number for Clients
Select this option to require that a phone number be entered into the work phone field when new clients are added to the system or selected for editing.
Select this option to require that a physical address be entered into the address field when new clients are added to the system or selected for editing. This goes for creating account via online booking.
🔲Require Lead Source for Clients
Check this box to require selection of lead source when adding clients or editing client profiles. Lead sources are created in the Lead Source List.
🔲Require Birthday for Clients
Choose this option to require a birth date be entered when adding or editing client profiles.
🔲Require Gender For Clients
Select this option to require that gender be chosen when new clients are added to the system or selected for editing.
🔲Disable Automatic City/State Postal Lookup
Uncheck this option to allow the program to automatically fill in the city and state when a zip code has been entered on a client's profile. Check this option to require manual entry.
🔲Auto-Format Client Phone Numbers
Select a format for client telephone numbers. This option will not affect numbers already entered into the system, just new entries.
User-Defined Fields
User-Defined Fields can be used to customize Client Records if EnvisionNow has not provided a Field for client information that must be stored.
Employee Tab
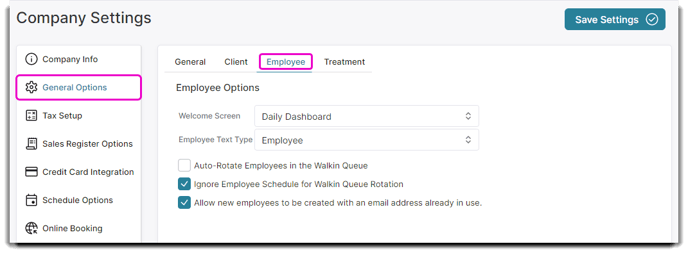
Welcome Screen
Choose which screen you want to be displayed upon login. This can be set individually for each employee or a default may be selected here.

The options for the welcome screen include:
The Daily Appointment Summary is a screen that shows the appointments and current status.
The Daily Dashboard is a screen that summarizes the activities for the day.
The Appointment Calendar shows the services booked for the day.
The Point of Sale is the sales register screen.
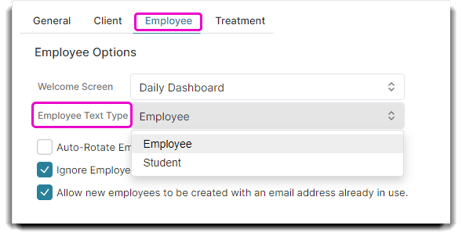
Employee Text Type
The option to change "Employee" to "Student" changes the wording from employee to student throughout the software. This setting is ideal for educators and schools!
🔲Auto-Rotate Employees in the Walkin Queue
Selecting this option will cycle through available employees for the walk-in queue.
🔲Ignore Employee Schedule for Walkin Queue Rotation
Choose this option to disregard if an employee is marked as unavailable to allow assignation in the walk-in queue.
🔲Allow New Employees To Be Created With An Email Address Already In Use
Selecting this box will allow you to assign more than one employee to the same email address. Usernames will still need to be unique.
Treatment Tab
Measurements and Weight Loss are used on the Treatment screen. The Treatment Screen is available in PatientNow Essentials. To upgrade, please contact our Sales Team at 800.436.3150 or sales@patientnow.com.
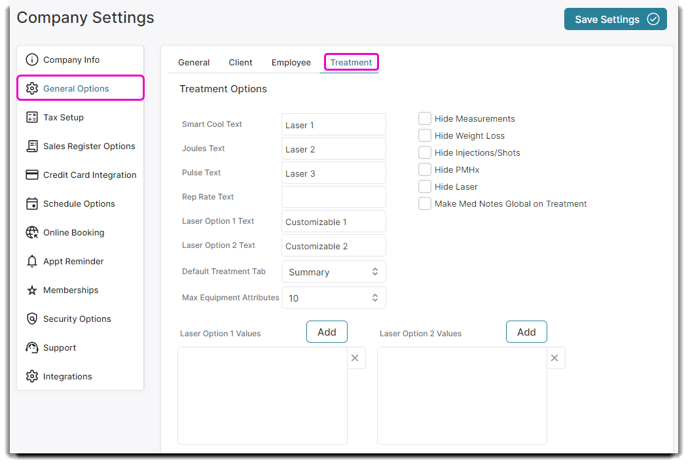
Smart Cool, Joules, Pulse, and Rep Rate Text
These are the default names for Lasers/Laser information on the treatment screen. You can customize the text in the fields to the right to suit your MedSpa's needs. Whatever you type in the field will override the default text on the left as shown in the examples below:
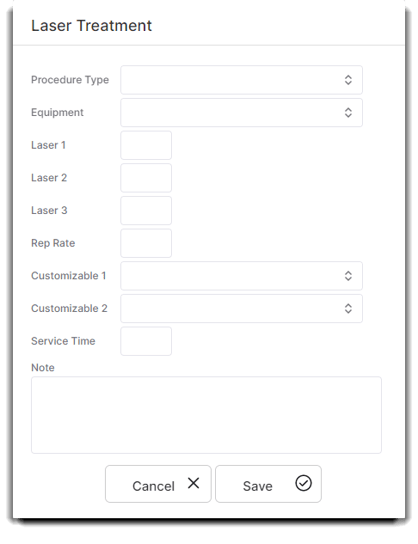
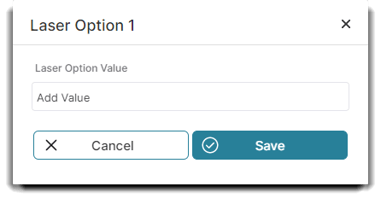
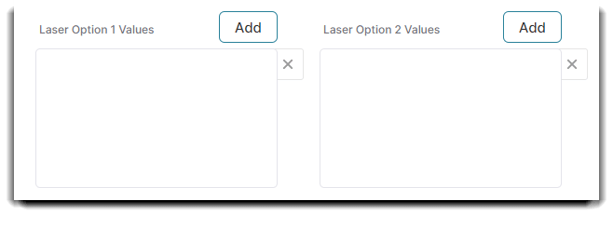
Laser Option 1 and 2 Text
These are also customizable fields. Here you can choose to add a dropdown menu or a table with multiple options. To add a selection to each option, click Add next to the corresponding title and input the options you wish to include.
Default Treatment Tab
Choose the tab that you wish to show when opening the treatment screen for appointments. This is useful if you wish to show a specific tab when opening a treatment record for most of your clients.

Max Equipment Attributes
Chose from 1-10 on how many equipment attributes will be listed for an individual equipment item.
🔲Hide Measurements
Select this box to hide measurements from the treatment screen.
🔲Hide Weight Loss
Check this box to hide the weight loss information on the treatment screen.
🔲Hide Injections/Shots
Check this box to hide the injection tab from the treatment screen.
🔲Hide PMHX
Check this box to hide the patient medical history tab from the treatment screen.
🔲Hide Laser
Check this box to hide the laser tab from the treatment screen.
🔲Make Med Notes Global on Treatment
Check this box to have medical notes become visible across all locations. If you would prefer to keep medical notes specific to each location, leave this unchecked.