
An overview on the waiting list
The Waiting List is available in the Preferred & Ultimate editions of the Envision program. To upgrade go to Manage Account > Modify/reactivate subscription plan.
The Waiting List is a feature that allows clients who want an appointment to be tracked and booked easily when an opening becomes available. The request will be entered for a specific date range, with a specific employee, and for a specific service.
👥 Add to Wait List
🚨 Openings Available Alert
🔍 Search For Openings
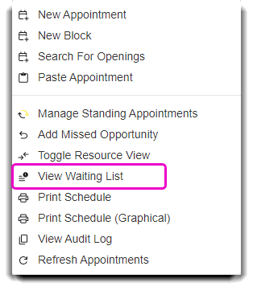
Once on the Appointment calendar you can access the Waiting List.
This screen can be reached by clicking on the Waiting List option to the left of the calendar screen, or by right-clicking over a blank space on the appointment calendar.

Once selected, you will see a popup screen with the Waiting List.
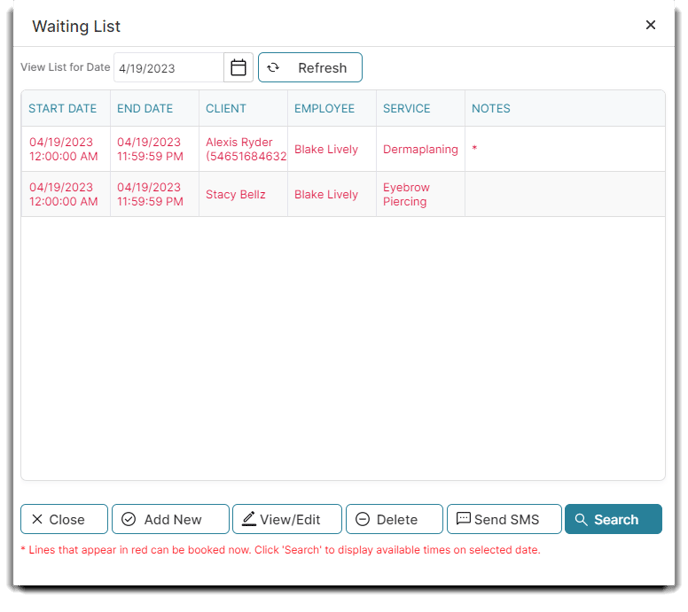
👥 Adding Clients to The Waiting List
1. Select the Add New Button.
You will see a new popup screen to add the details of the client and their requested service.
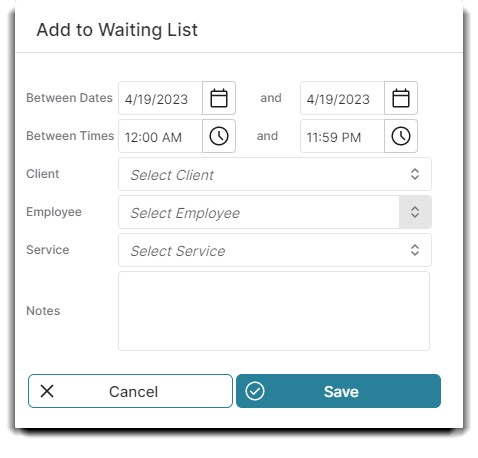
2. Enter the beginning date that the client would like an appointment.
3. Enter the last date that the client would like an appointment.
4. Select the client.
5. Select the requested employee.
6. Choose the requested service.
7. Enter any notes. This step is optional.
8. Select to Save.
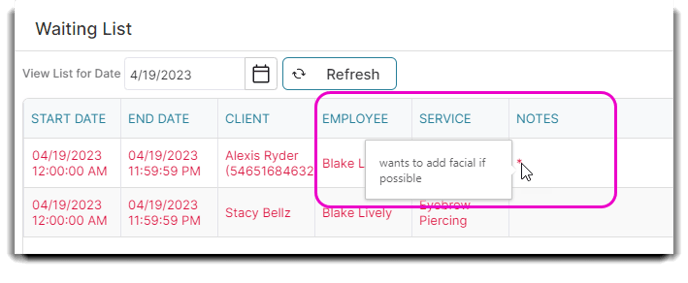
Any added notes will appear with an * under the Notes column of the Waiting List, as shown in the below image.
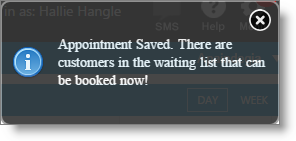
🚨 Openings Available Alert
When openings become available on the calendar, a small pop-up will show in the upper right when saving an action on the appointment calendar screen.
🔍 Searching for Openings From the Waiting List
1. Open the Waiting List.
2. Change days using the drop-down calendar at the top of the window.
3. Select Refresh.
If a client request is red, there is an available opening for the requested appointment.
5. Click over the requested appointment in red. This is the appointment that can be booked.
6. Select the Search button.
7. Choose from the available times by clicking once to select.
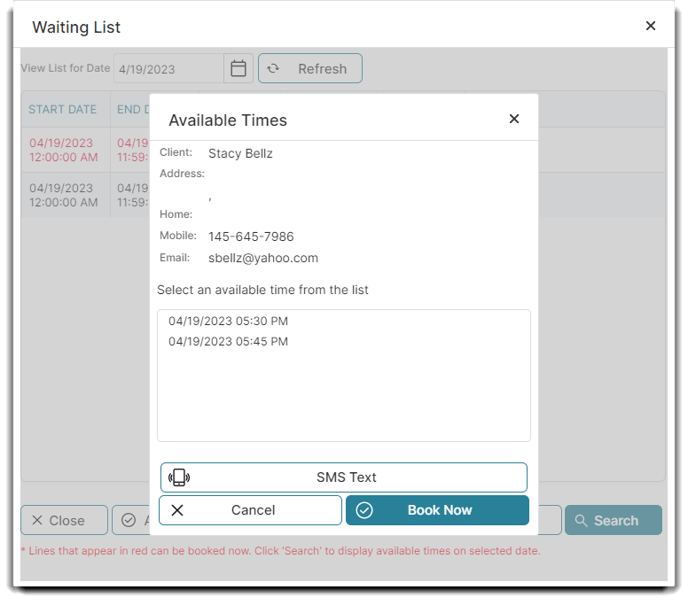
8. Select to Book Now.
9. Choose to Book Appointment.
Any notes from the waiting list will transfer to the newly-booked appointment.