
An overview of the tasks feature.
Tasks and the Task List are available in the Preferred & Ultimate editions of the Envision. To upgrade, go to Manage Account > Modify/reactivate subscription plan.
Tasks are used to create and assign duties or reminders to your staff, yourself, or all employees.
The task list can be accessed by selecting the Task button in the upper right of Envision.
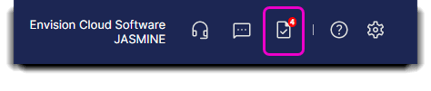
Selecting this option will open a list of tasks. Tasks may be created, viewed, and marked as "Completed" from this screen.
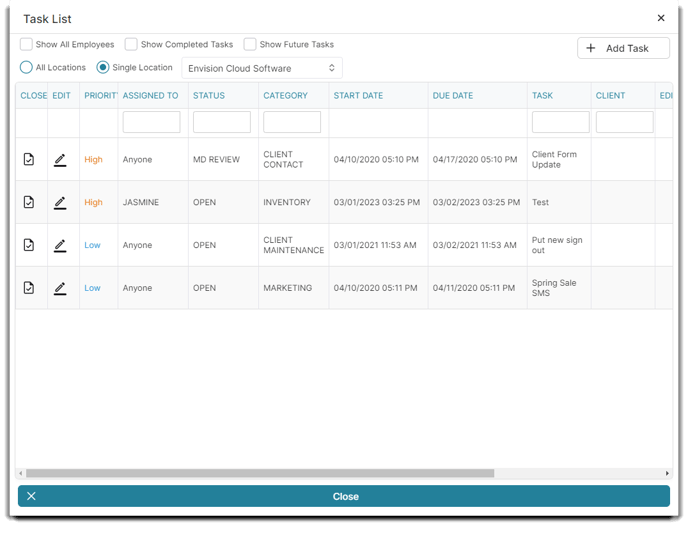
Show All Employees
Select the All Employees option to view tasks for all employees, or leave unchecked to view tasks for just the employee that is logged in.
Show Completed Tasks
Check this box to display both incomplete and completed tasks.
Show Future Tasks
Check this box to display tasks with a future start date in addition to the default list, which shows tasks with a past or current start date.
Show From Locations
Select the All Locations option to view tasks for all company locations, or choose a single location to view tasks for just that location. This option is only available for businesses with multiple locations.
Close
Selecting to close a task will open a box to allow completion notes to be entered. These notes are viewable after the task has been closed.
Edit
Double-click to edit a task if you wish to make changes to the task.
Priority
Task priority is selected when the task is created. This may be changed if the task is edited.
Assigned To
The selected employee, employee department or 'anyone' will show for tasks assigned to them.
Status
The status may be assigned when creating or editing tasks. Task statuses are created in the task status list.
Category
The category that was assigned when the task was created will show. Task categories are created in the task category list.
Start Date / Due Date
The dates selected when the task was created will show here.
Task Details
Details entered for the task will show here. This area may not show all of the details entered if it is long.
Client
A client may be selected for relevant tasks and will show here if chosen as the customer.
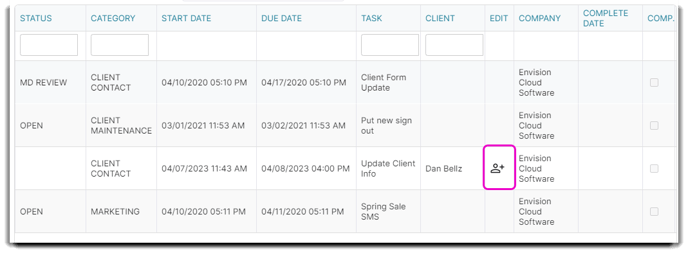
Edit
You have the option to edit a client from the Task List using the icon with the green plus sign. This option is helpful when the task pertains to updating a client's info in Envision.
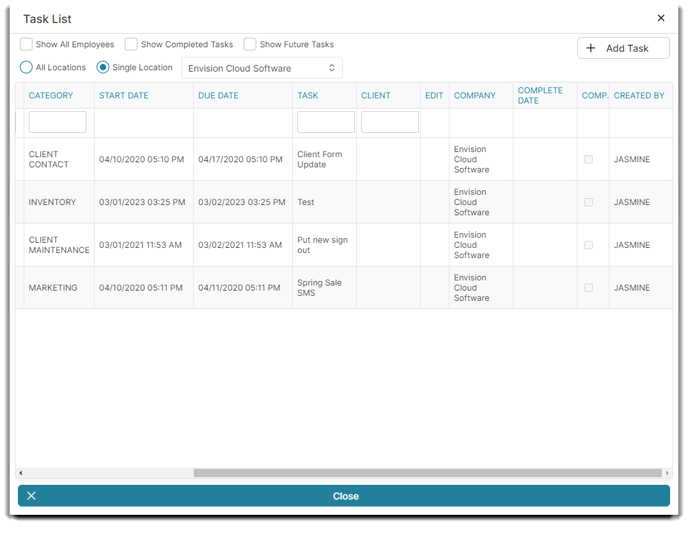
Company
The company that the task was created in will show here unless the task was created for all locations. (Multi-location only)
Complete Date
The date that the task was completed will be displayed here if completed tasks have been selected for view.
Completed Box
This box will show checked for completed tasks when they have been selected for view.
Created By
The employee who created a task in the list will show here.
✔️ Task Status List
How to create a Task Status List
To open the Task Status List, hover over Employees in the Tool Bar of Envision, hover over Employee Options, and select Task Status List from the drop-down menu.
Employee > Employee Options > Task Status List
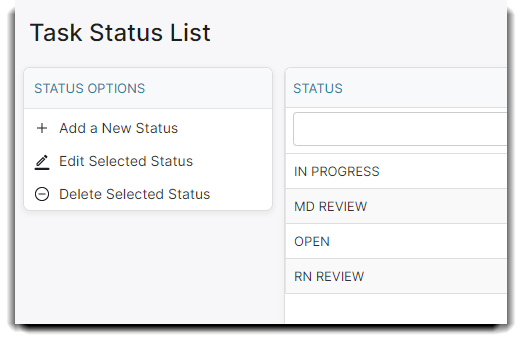
Task statuses are used to separate tasks into easy-to-see groups. Tasks are created, edited, and marked complete in the Tasks section.
Adding Statuses
To add a status to the list, click to add a new status in the options to the left. Enter the name of the status into the blank field and click the Save button when finished.
☑️ Task Category List
Learn more about Tasks and how to add a Task Category List
To open the Task Categories List, hover over Employees in the Tool Bar of Envision, hover over Employee Options, and select Task Categories from the drop-down menu.
Employee > Employee Options > Task Category List
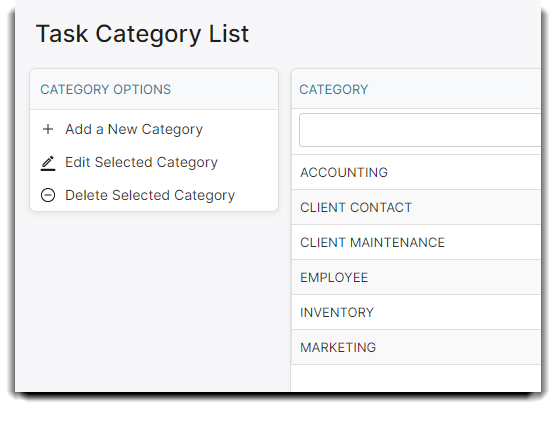
Task categories are used to separate tasks into easy-to-see groups. Tasks are created, edited, and marked complete in the Tasks section.
Adding Categories
To add a category to the list, click to add a new category in the options to the left. Enter the name of the category into the blank field and click the Save button when finished.
➕ Adding Tasks
An overview on how to add tasks
To manage and add tasks, click on the tasks icon in the upper right.
Selecting to add a new task or edit an existing task will open a screen similar to the one shown here.
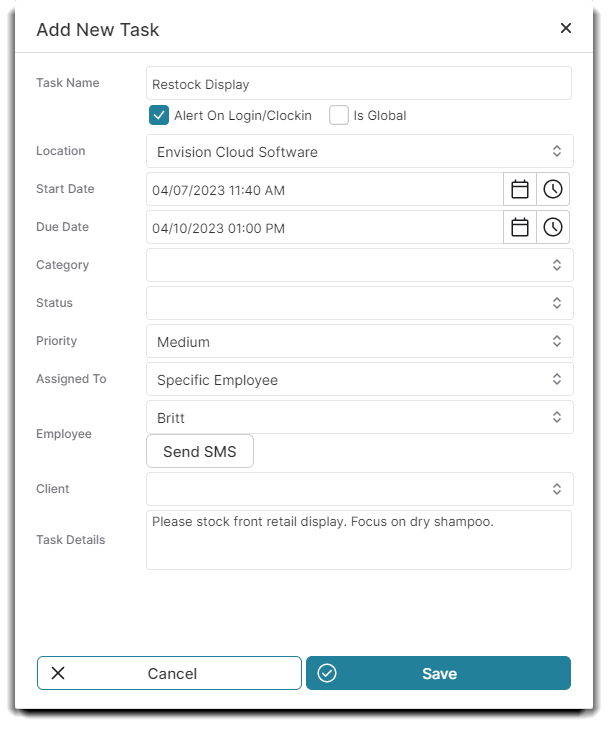
Steps to Add a Task
- Enter a task name, location, start date, and due date.
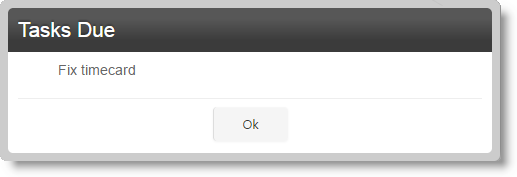
- Select Alert On Login/Clock in if you want the employee to receive a popup when they log into or clock in on Envision. The pop-up will look similar to the one shown below.
- Select the task status.
- Select the category you wish to assign to this task.
- Set the priority level for the task.
- Choose the specific employee, specific employee department, or select 'anyone' to assign the task. If you have Paid SMS and select a specific employee, the employee can be notified of the task via SMS using the "Send SMS" button.
- If a specific client is referenced by the task, select them from the drop-down selection. The client can then be edited from the Task List, if selected.
- Enter any task detail information for the employee who will be performing the task.
✅ Completing Tasks
How to Complete a Task
Tasks are available with the Preferred & Ultimate editions of Envision. To upgrade, please contact our Sales Team at 800.231.9445 or sales@ennoview.com.
Selecting to complete a task will open a screen similar to the one shown here.
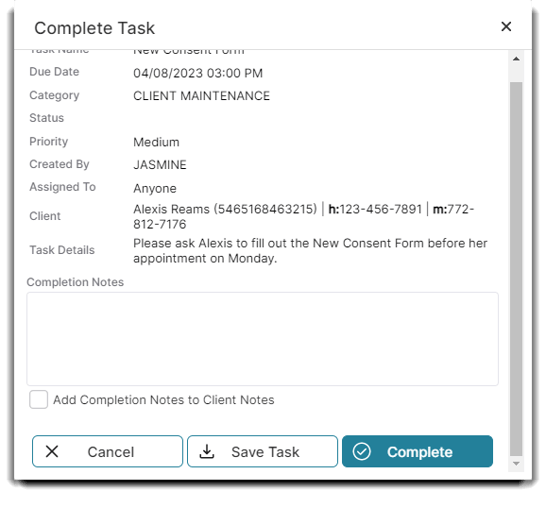
Steps to Complete a Task:
- Enter any notes about the task into the Completion Notes section.
- Check the box to Add Completion Notes to Client Notes if the task is associated with a client and you want the notes to show in the Client Notes on the client's profile.
- Select the Complete button to save and close the task window.