How to add items onto the Retail Product List
The Retail Products list allows you to enter the products you sell. When entering a new item, you will fill out all the information on the first screen.
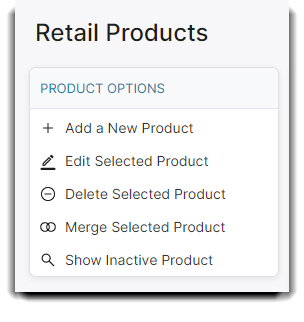
To enter the Retail Product List, hover over Inventory in the Tool Bar of Envision and select Retail List from the drop-down menu. Double-click one of the items or click once to select and choose to Edit Selected Product to open the item record.
Inventory > Retail List
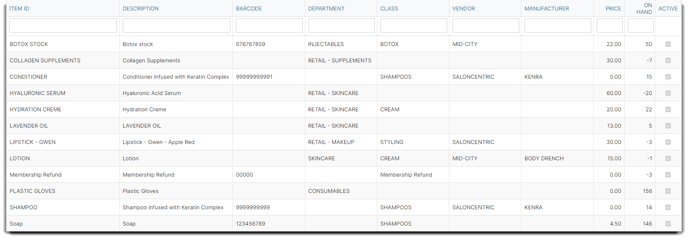
💡 Helpful Tip: You can search for a product by it's Item ID, Description, Barcode, Department, Class, Vendor, Manufacturer, or Quantity On Hand. Simply type in any of the corresponding blank fields and press enter!
When scrolling horizontally, the Item ID column is fixed to the page so you can always see the correct product names.
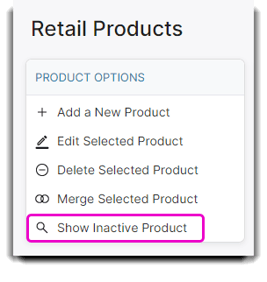
Show Inactive Product
By default, inactive products are hidden from the Retail Product list. But if you would like to see an inactive product, you can view it again by simply clicking the Show Inactive Product option on the menu list.
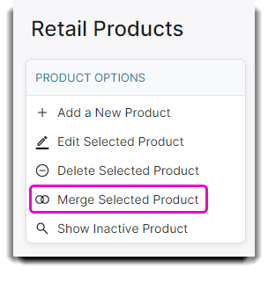
Merge Selected Product
Retail products can be merged. The item selected will be merged into the secondary item selected. The merge will erase the existing item’s record from the system, sales history, reports, appointments, etc. A merge cannot be undone. A new action has been added to the audit log to show when an item was merged. I.e. “Item A was merged into Item B.” This feature can be used to cut down on duplicate retail items.