
How to create an inventory department
The Inventory Department List is available to organize your inventory items. For example, if you provide hair, nail, and massage services, you may want to set up different service departments for each of these. You may set up unlimited departments. This is valuable when you are printing reports or viewing a large inventory list and only want to see a single department.
Inventory > Inventory Options > Departments
To enter the Inventory Department List,
- Hover over Inventory in the menu bar of Envision,
- Hover over Inventory Options, and
- Select Departments from the drop down menu.
- Choose to Add a New Department in the option box to the left side of the screen.
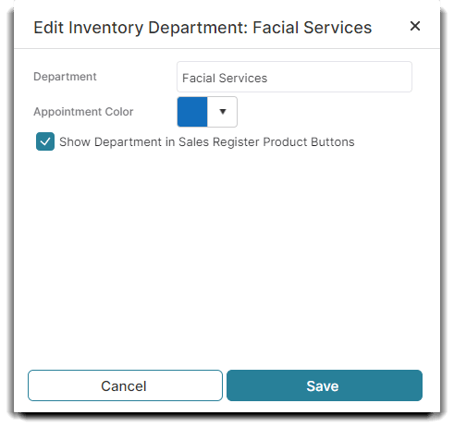
- Enter a Department name.
Enter a brief but clearly understood name for a department in the "Inventory Department" field. This name is what will be displayed on drop down lists throughout Inventory. - Select an appointment color.
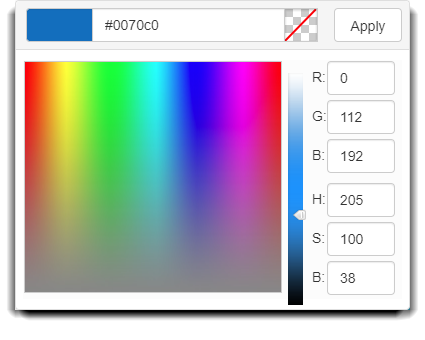
When creating or editing a department, you can assign an appointment color to it. This selection allows services assigned to that department to display in the selected color when booked on the calendar.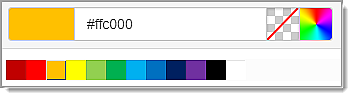
- Check the box to show the Department in the Sales Register if you want the department to be displayed with the product buttons on the sales register screen.
8. Save when done.