
An overview of the Service List page.
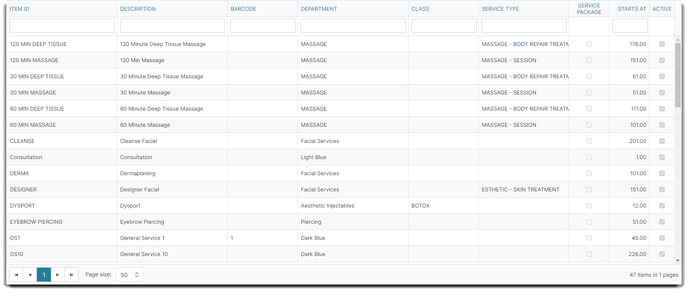
The Service List is home to all of the services that your business offers. You are able to add, edit, delete, merge and filter inactive services from this page. Setting up your Service List plays a critical role in your software, as you use theses items in the sales register, the appointment calendar, online booking, and in your reports!
💆 The Service List Window
To access the Service List, hover over Inventory, then click on Service List from the dropdown menu.
Inventory > Service List
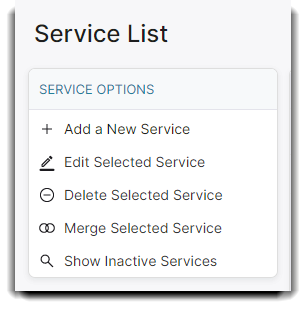
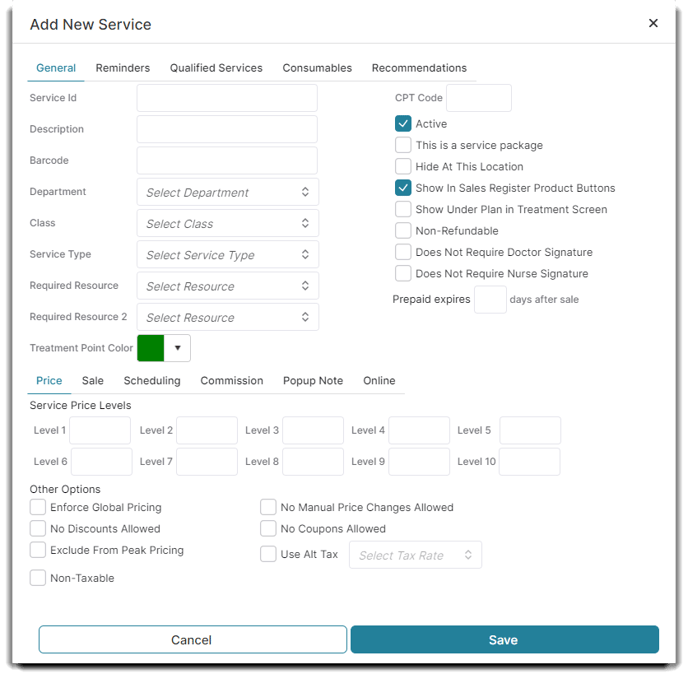
Add a New Service
To add a new service item, click the Add a New Service button on the left menu and fill out the fields. To learn more about what each field is you can go here.
Edit Selected Service
To edit an existing service, you can double click a service on the list, or click Edit Selected Service. To learn more about editing the different fields you can go here.
💡 Helpful Tip: The blank fields shown above columns allow the user to search and quickly locate a record from a large list. You can search by Item ID, Description, Barcode, Department, Class, and Service Type.
Show Inactive Services
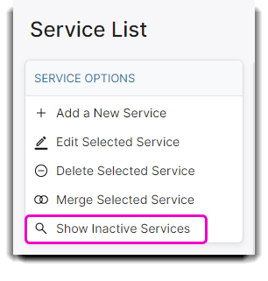
By default, inactive services are hidden from the Service list. But if you would like to see inactive services, you can view them by simply clicking the Show Inactive Services on the menu list.
Merge Selected Service
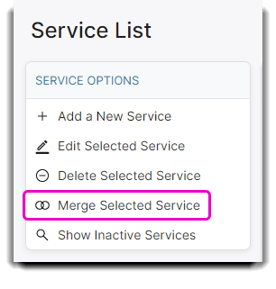
If you have any duplicated Service Items on your list, you can merge these items to make sure your reporting stays accurate.
Click on the service you want to merge, then click the Merge Selected Service button. A pop-up warning window will appear, prompting you to select the service you want to merge together:
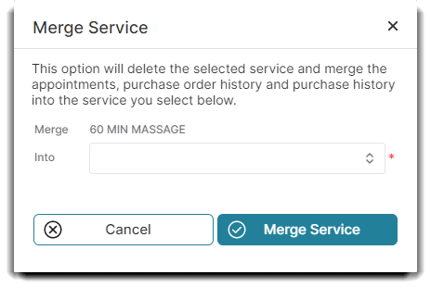
Merging the items will permanently delete and transfer all information from the service you choose to merge. A merge cannot be undone. A new action will be added to the audit log to show when a service was merged. I.e. “Service A was merged into Service B.”