
Step-by-step guide to build your website with Salonvision
Salonvision is available as an add-on to Envision. You can update your account on the Account Management Subscription Page.
🕵️ What is Salonvision?
Available to everyone as an add-on service, Salonvision is Envision's website builder. With Salonvision, you can create your own website to display your business' services, online booking, about and contact info, gift certificates, client reviews, and online shopping links.
Click on the links to jump to each section!
| 🏁 Getting Started |
| 🎨 Customize Your Website |
| 💻 Create Your Template |
| 🙂 Edit Graphics |
| 📝Create Webpages |
| 📄 Manage Custom Pages |
| 🗂️ Manage Menus |
| ⭐ Manage Client Reviews |
| ☑️ Salonvision Website Settings |
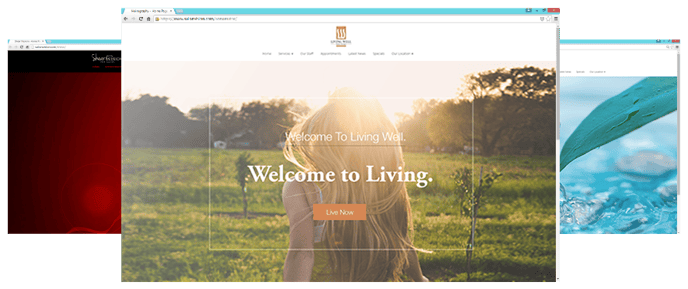
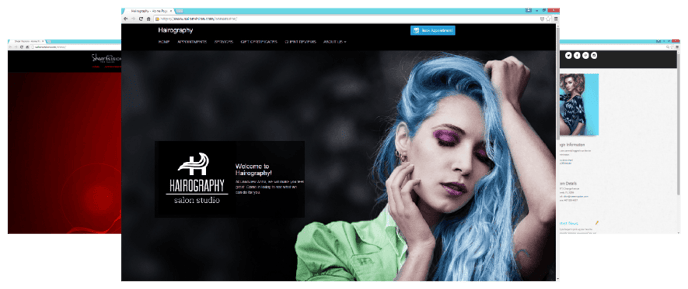
Here is a LIVE example of how your website can look:
🏁 Getting Started
First, you have to activate your Salonvision add-on service.
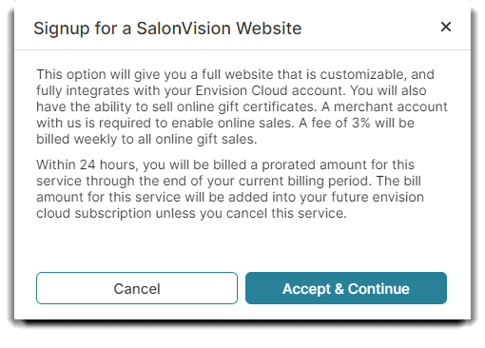
To activate, go to the Subscription Management page, select Sign up for Add-On Services, and scroll until you find SalonVision Website.
Click Add to Subscription and agree to the terms. 
😀 Once Activated...
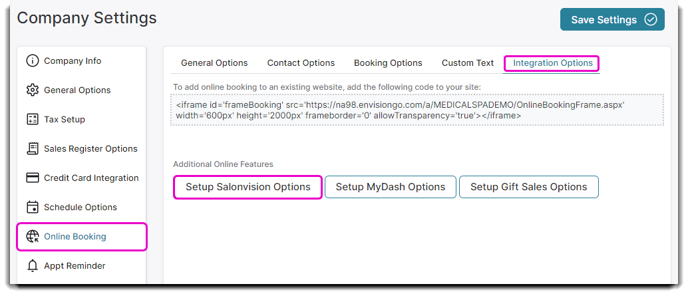
Head to your Company Settings located in the top right corner of Envision, then click on the Online Booking tab.
1. Click Integration Options, then select Setup Salonvision Options under the Additional Online Features headline.
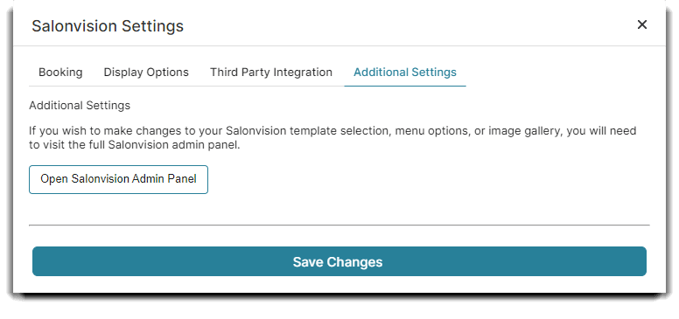
2. When the Salonvision Settings window appears, click on the Additional Settings tab.
3. Select the Open Salonvision Admin Panel button. This will take you to your website customization. 🎉
If you don't currently have an add on, when you try to access Salonvision, you will see the screen below. See above for how to add this add on service. 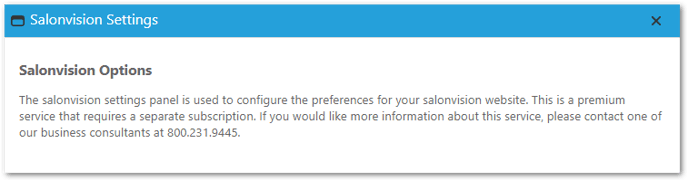
🎨 Customizing Your Website
Salonvision's Site Adminitration is home to all of your customization tools. You can adjust your template, website colors and theme, add your company logo, and create your own webpages.
💻 Create Your Template
To customize the look and feel of your website:
1. Click on Website Template. 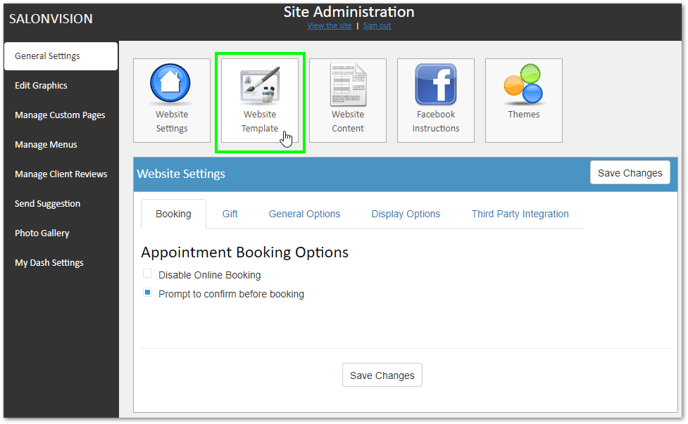
2. Select the template style you prefer.
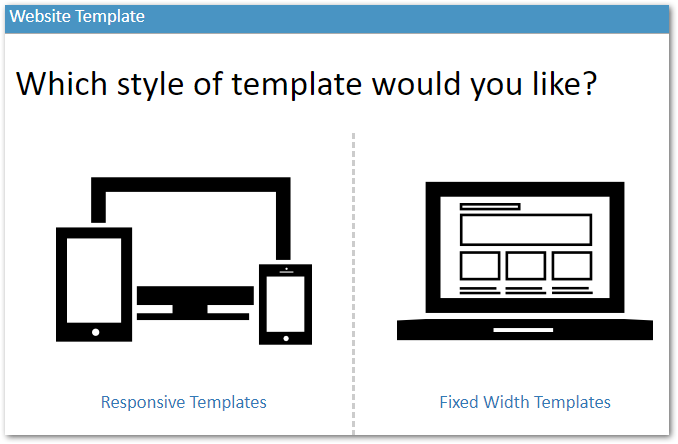
Helpful Tip 💡:
✔️ A Responsive Template formats your webpage for optimal viewing and navigation for multiple devices, such as from a PC or Mac desktop computer, to tablets and smartphones.
✔️A Fixed Width Template will keep your webpage width the same no matter the device.
3. After you choose your webpage width, choose the template you like most from the options given.
4. Click the Use Selected Template button to customize your chosen theme.
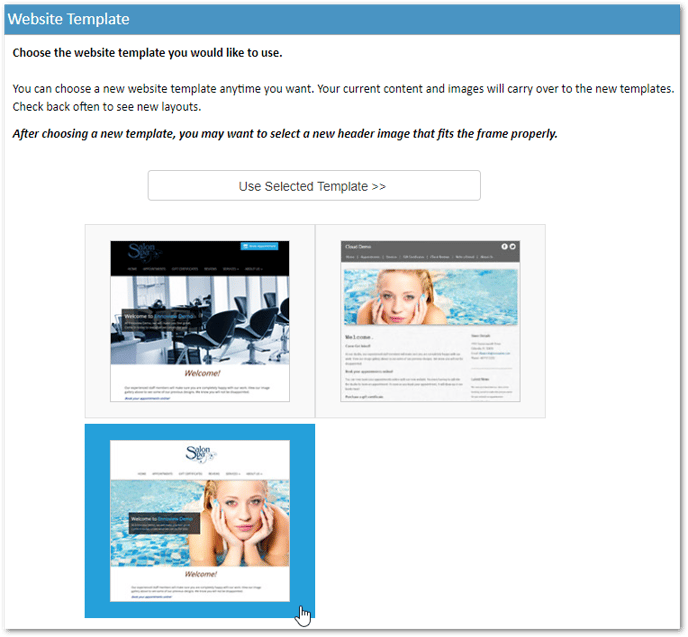
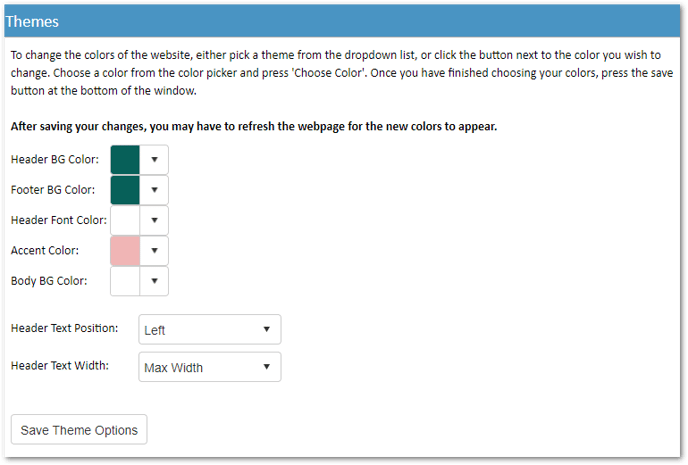
5. Edit your website colors and click Save Theme Options.
🌟 Here are some template examples:
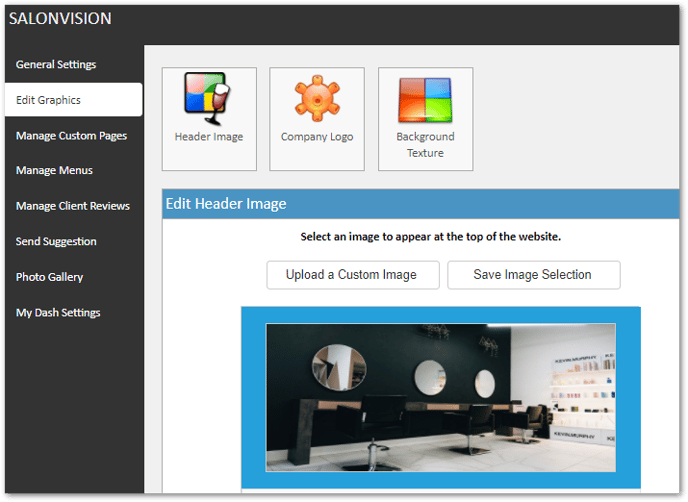
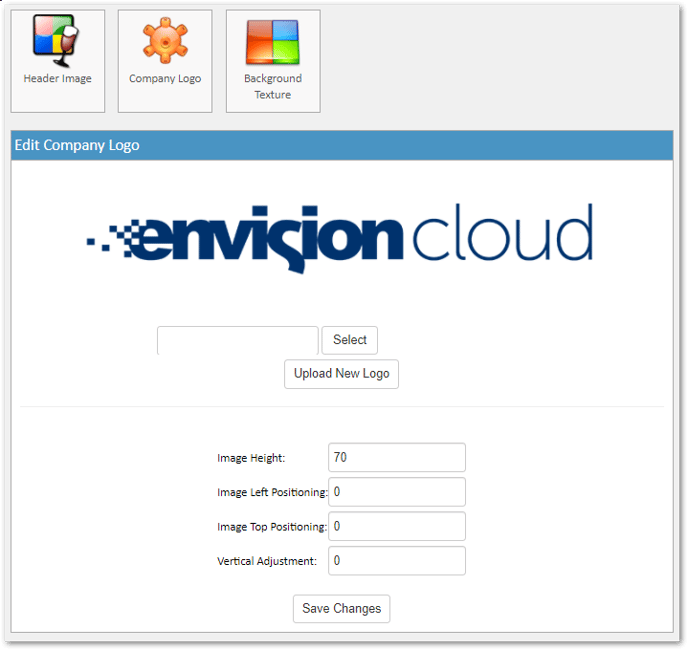
🙂 Edit Graphics
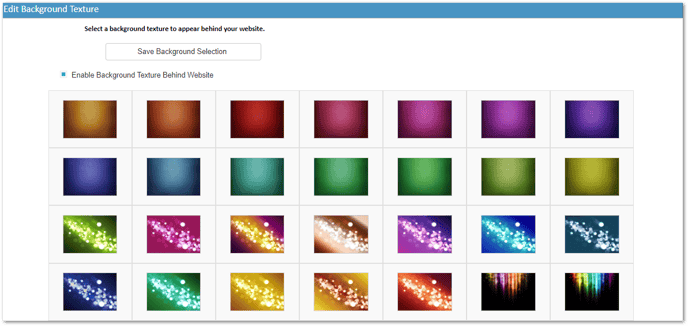
In this section, you'll be able to upload your own header image, as well as update your Company Logo, and edit your website's background texture.
📝 Create Webpages
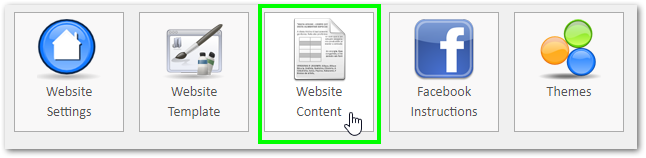
To add or edit your webpages, click on the Website Content button.
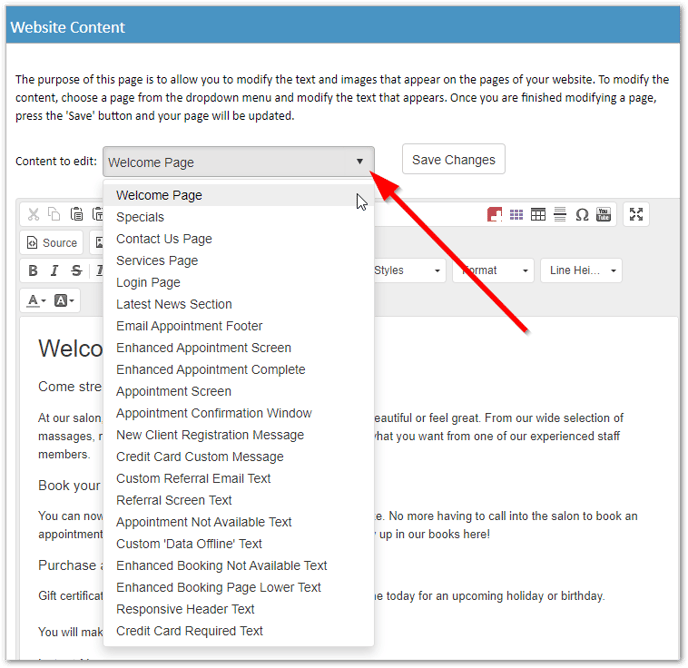
1. Click the Content to edit dropdown menu.
Here you will find several page templates available to personalize. Simply select the page title you'd like and begin editing in the field below.
2. Once you are finished, click on Save Changes.
💡 Helpful Tip: If you choose to show your Online Booking page, click here to learn how to edit all of your Online Booking Features.
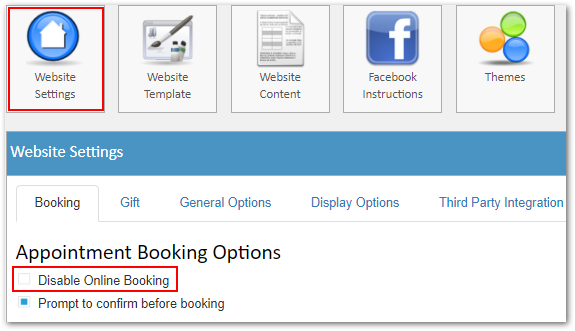
Your Online Booking page will always appear unless you select Disable Online Booking from the Appointment Booking Options section of your Website Settings.
📄 Manage Custom Pages
If you can't find the page you are looking for or want to create your own, click on Manage Custom Pages on left side of Salonvision.
1. Click Add New Custom Page.
2. Enter the page name, or your desired URL path, in the Page Name field.
3. Type in your page title in the Page Title field.
4. Proceed to add more web content by editing the page in the field.
5. Don't forget to click Save when you are finished!
🗂️ Manage Menus
To rearrange your menu items, select the Manage Menus option on the left hand side of Salonvision.

🌟To edit the Main Menu, simply drag and drop each item to appear in the order you want them to on your website.
🌟To create a drop-down sub-menu, drag one of your titles on top of another title and place it in the order you want them to be when a client hovers over that menu option.
🌟To use your custom page, click on Add Menu Item. Type your desired title in the Menu Title field, then select to Use a Custom Page. Select your custom page title from the dropdown field. If you want to use an outside URL, simply copy and paste the desired URL and select to Use Custom URL.
🌟Always remember to click Save Changes!
If you made a mistake, you can always click on a menu title and select to Remove This Menu Item. Or, you can choose to Reset Entire Menu to Default if you want to start over from scratch.
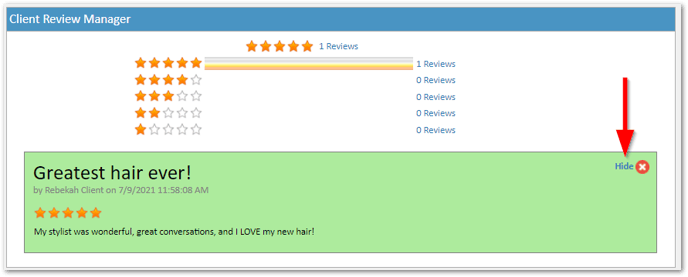
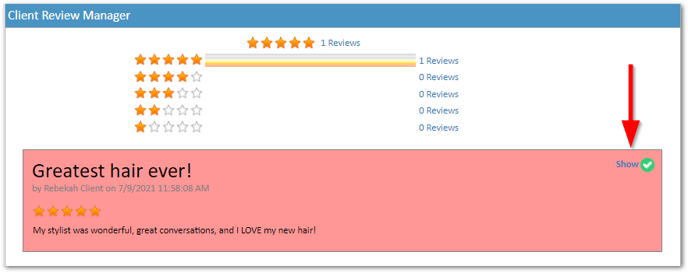
⭐ Manage Client Reviews
You can also select to hide client reviews in the Client Review manager.
1. Select Manage Client Reviews from the menu on the left.
2. Hide a review by clicking Hide on the upper right-hand corner of their initial comment. The comment will turn red when it is hidden.
3. To show a hidden comment, click Show. When it is visible, the comment will appear green.
☑️ Salonvision Website Settings
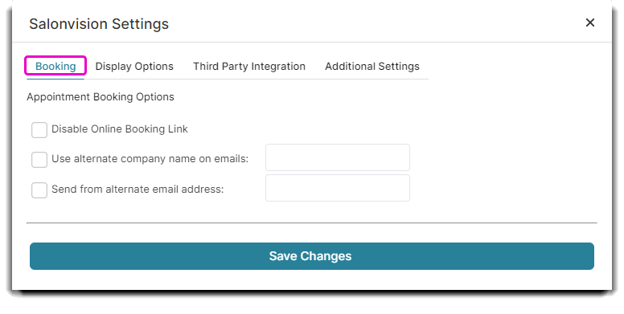
Booking Tab
Once you click to access the Salonvision Setting Options, the Booking tab will automatically popup. Here you can select your Appointment Booking Options to disable your online booking link, use an alternate company name on emails, or send messages from an alternate email address.
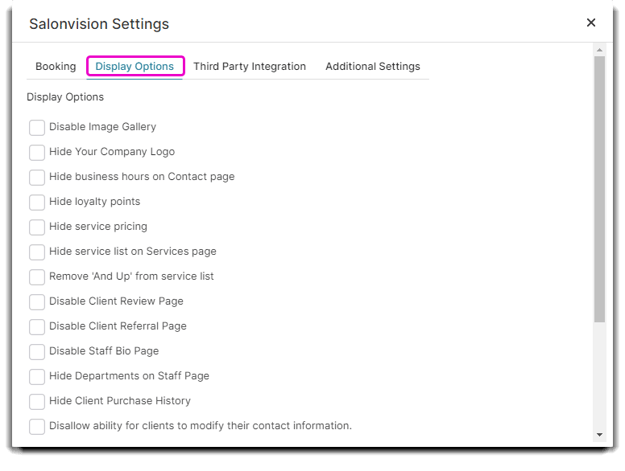
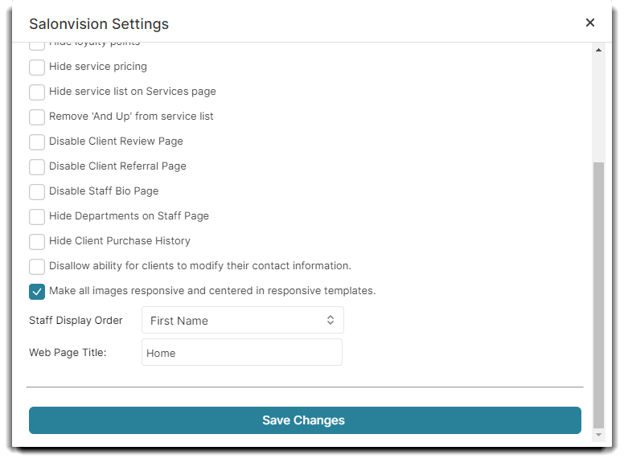
Display Options
Customize what will appear on your website by scrolling through and checking or unchecking the boxes in the Display options tab!
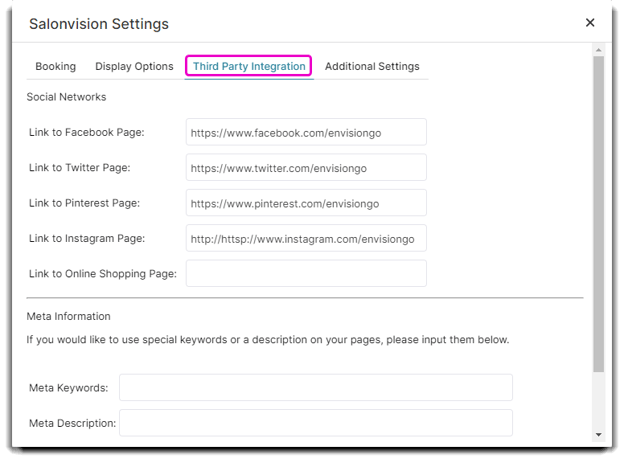
Third Party Integration Options
Here you can add any Social links you would like to integrate to your website. You can also fill out your Meta Information for Google searches.
Additional Settings
To access additional Salonvision Settings, such as your image gallery, menu options, or templates, this tab will redirect you Salonvision's Admin Panel from the Salonvision web browser.
