Explanation of the prescribing features of eRx
eRx is available with PatientNow Essentials. To upgrade your account, please contact our Sales Team at 800.436.3150 or sales@patientnow.com.
Click on the links to jump to a section:
💊 Add New Prescription:
To begin the three step process of adding a new prescription, click the Add Prescription button in the upper right hand corner of the Patient Details page:

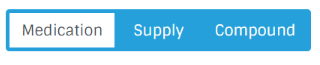
There are three types of prescriptions that a clinician can add: Medication, Supply, and Compound.
Add New Medication:
Step One
Search for a medication by typing in the name of the medication. An autocomplete dropdown will be triggered if the user enters a string of 3 or more characters. Select the medication from the autocomplete dropdown list: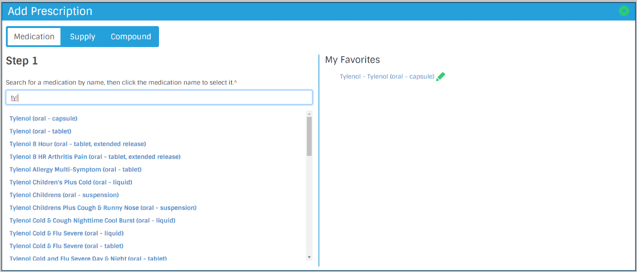
⭐ The user also has the option to select a medication from the My Favorites list, if the user has any saved favorites. This will bring the user directly to Step 3 of the workflow.
Note: If diagnosis is enabled in the clinic’s configurations, the user has the option to select a diagnosis for the prescription. A diagnosis is required if the clinician is adding an EPCS prescription.
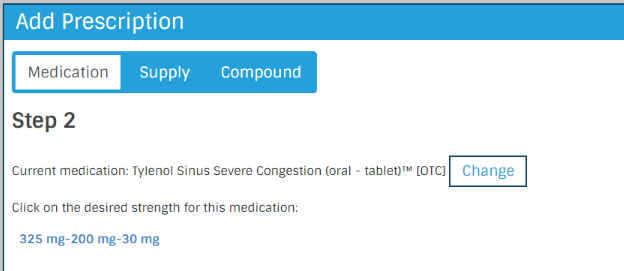
Step Two
Select the desired strength for the medication. Only the legal variations of the drug will be available to prevent any errors:
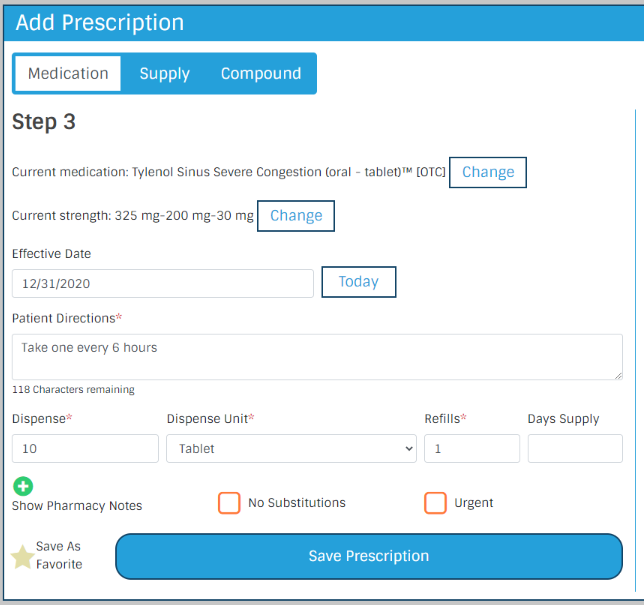
Step Three
Fill in the prescription details by completing the following fields:
- Effective Date
- Patient Directions*
- Dispense*
- Dispense Unit*
- Refills*
- Days Supply
- No Substitutions (check if substitutions are not allowed)
- Urgent (check to let pharmacy know that this medication is URGENT)
- Pharmacy Notes (click the “+” icon next to Show Pharmacy Notes to show the field)
Note: EPCS prescriptions requires an Effective Date and Days Supply
Note: Required fields are marked with a red asterisk (*) in the form.
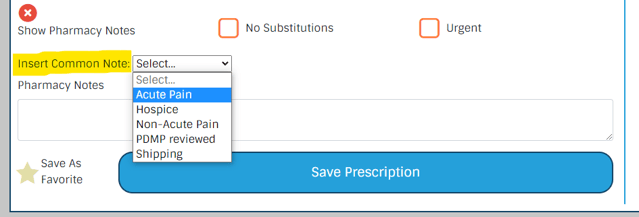
Pharmacy Notes
When show pharmacy notes is expanded, providers have the option to select common notes.
Clients can designate the common notes that appear in the dropdown.
If the patient has eligibility information saved, formulary information will display on the screen. This includes formulary status, copay details, and alternative medications if applicable. This gives the user the option to select any alternative medications if desired.
Click Save Prescription to add the prescription to the patient’s Pending Medications list.
![]()
Add New Supply:
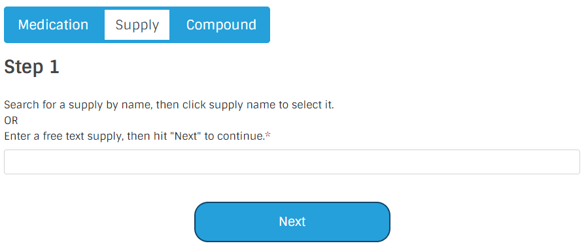
Step One
Search for a supply by typing in the name of the medication. An autocomplete dropdown will be triggered if the user enters a string of 3 or more characters. Select the supply from the autocomplete dropdown list. This will automatically load Step 2 of the workflow.
If the supply does not appear in the autocomplete dropdown, enter the supply as a free-text entry and click Next to go to Step 2.
⭐ The user also has the option to select a supply from the My Favorites list, if the user has any saved favorites.
Step Two
This will bring the user to Step 2 of the workflow with the saved prescription details.
Fill in the prescription details by completing the following fields:
- Effective Date
- Patient Directions*
- Dispense*
- Dispense Unit*
- Refills*
- Days Supply
- No Substitutions (check if substitutions are not allowed)
- Urgent (check to let pharmacy know that this medication is URGENT)
- Pharmacy Notes (click the “+” icon next to Show Pharmacy Notes to show the field)
Note: Required fields are marked with a red asterisk (*) in the form.
If the supply is a free-text entry, the clinician must confirm that the prescription is not for a controlled substance. Check the checkbox next to This is not a controlled substance and click Save Prescription.
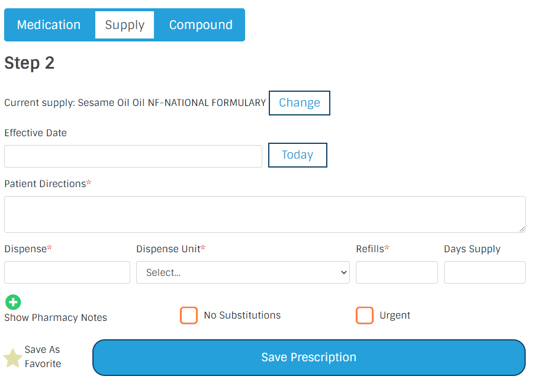
Click Save Prescription to add the prescription to the patient’s Pending Medications list.
Add New Compound:
Step One
Enter a free-text compound and and click Next.
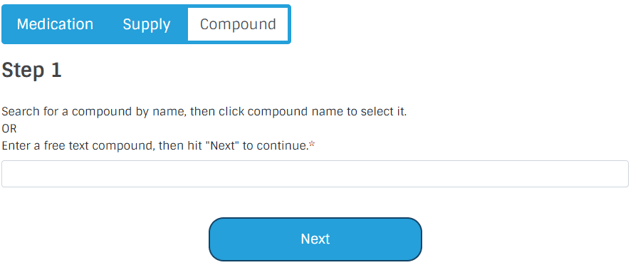
⭐ The user also has the option to select a supply from the My Favorites list, if the user has any saved favorites. This will bring the user to Step 2 of the workflow with the saved prescription details:
Step Two
Fill in the prescription details by completing the following fields:
- Effective Date
- Patient Directions*
- Dispense*
- Dispense Unit*
- Refills*
- Days Supply
- No Substitutions (check if substitutions are not allowed)
- Urgent (check to let pharmacy know that this medication is URGENT)
- Pharmacy Notes (click the “+” icon next to Show Pharmacy Notes to show the field)
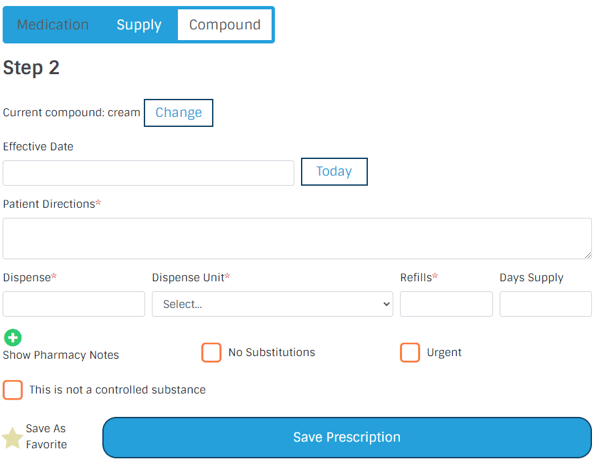
Note: Required fields are marked with a red asterisk (*) in the form.
The clinician must also confirm that the prescription is not for a controlled substance. Check the checkbox next to ☑️This is not a controlled substance.
![]()
Click Save Prescription to add the prescription to the patient’s Pending Medications list.
⭐ Save as Favorite:
Saving a prescription as a favorite saves all entered prescription details.
Clinicians can access their favorites through the My Favorites list in Step 1 of the Add Prescription workflow. This will take the clinician directly to Step 3 to edit any prescription details and submit the form. To save a prescription as a favorite:
1. In the final step of the Add Prescription workflow, fill in prescription details
2. Click the Star icon next to Save As Favorite and click Save Prescription:
.png?width=112&name=mceclip0%20(7).png)
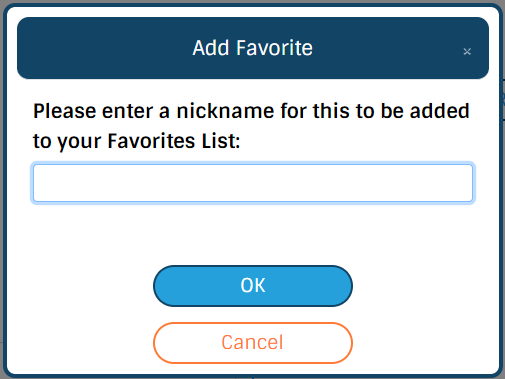
3. A pop up will appear. Enter a nickname for the favorite and click OK. If you would to save this as a Master Favorite, add an asterisk (*) to the beginning of the nickname:
4. The prescription will be added to the Pending Medications list, and a copy of the prescription will be saved as a favorite.
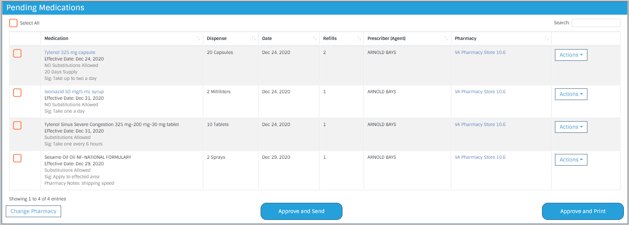
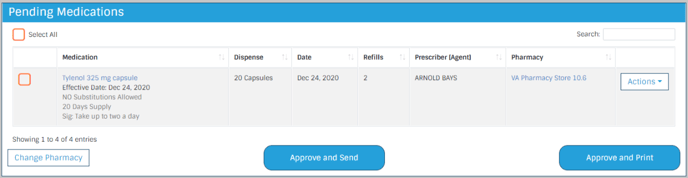
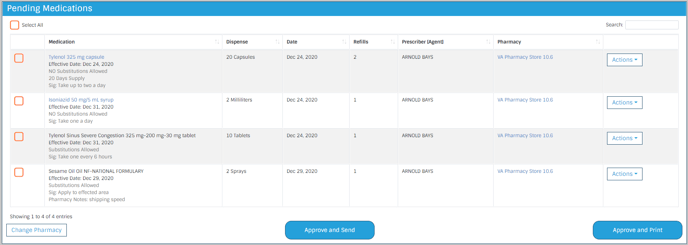
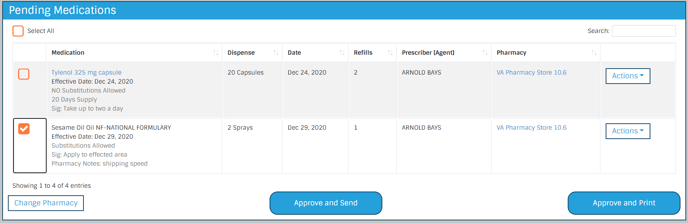
💊 Pending Medications List:
Newly added prescriptions will appear in the patient’s Pending Medications list. The Pending Medications list displays prescriptions that have not yet been sent to a pharmacy or printed by the clinician. Here, you can review prescription information, change prescription’s pharmacy, as well as edit or delete the prescription.
💊 Send Electronic Prescription (NewRx):
When you are ready to send the prescription to the pharmacy:
1. Select the medication(s) using the checkboxes corresponding to the medication
2. If the clinician has a PIN on file, enter the PIN in the PIN field
3. Click Approve and Send. The prescription will be moved to the Active Medications list
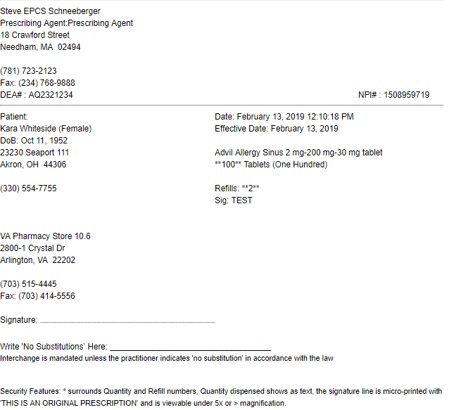
🖨️ Print Prescription (NewRx):
Note: Popups must be enabled within your browser to print a print prescription
1. Select the medication(s) using the checkboxes corresponding to the medication
2. If the clinician has a PIN on file, enter the PIN in the PIN field
3. Click Approve and Print. The printed prescription will open in a new window. The prescription will be moved to the Active Medications list

🖨️ Print without Pharmacy:
Note: Popups must be enabled within your browser to print a print prescription
If a pharmacy does not appear within the pharmacy search, you can print the prescription without selecting a pharmacy:
1. Select the prescription(s) using the checkboxes corresponding to the medication
2. Click Change Pharmacy. This will open the Change Pharmacy popup:

3. Select No Pharmacy (for printing only) and click OK.

4. The Pharmacy will change to No Pharmacy Selected. Click Approve and Print. The printed prescription will open in a new window. The prescription will be moved to the Active Medications list
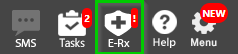
✨ Provider Notifications
Provider notifications are located at the top right of your eRx or you can get to your Provider Notifications by clicking on the E-Rx button in the top right of your practice management menu.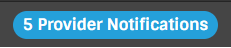
You will then be taken to your Provider Notification in eRx:
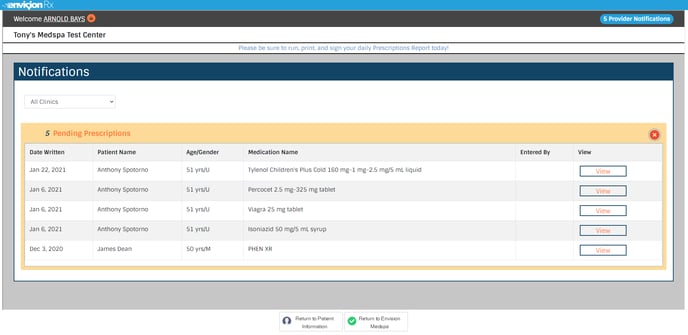
This area displays all of your pending Medications for your Clinics. Here you can:
🏥 Change Prescription Pharmacy:
1. Open the Change Pharmacy modal:
There are two ways to open the Change Pharmacy modal:
- Select the prescription(s) using the checkboxes corresponding to the medication and click the Change Pharmacy button OR;
- From the Action’s dropdown list, select Change Pharmacy.
2. The popup will show a list of the patient’s preferred pharmacies. Select the desired pharmacy and click OK:

Note: If the desired pharmacy is not shown, the user can search for and add a preferred pharmacy by clicking the “Search Pharmacies” button. See [Manage Patient’s Preferred Pharmacies] for more details.
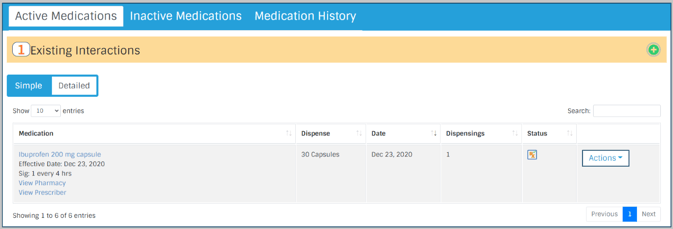
💊 Add Patient Reported Prescription:
To begin the process of adding a medication that is self reported by the patient, click the Add Patient Reported button in the upper right hand corner of the Patient Details page:


1. Start typing the medication into the text box.
2. Search for a medication by typing in the name of the medication. An autocomplete dropdown will be triggered after the user enters a string of 3 or more characters. Select the medication from the autocomplete dropdown list or add any medication and click Add.
3. Click Save. The medication will be added to the Active Medications list:
⚕️ Insurance Plan:
eRx does not currently support the view of insurance plans.
👩⚕️ Prescribing Agent:
A Prescribing Agent is a non-prescribing user type that can act on behalf of a Prescribing Clinician to manage prescriptions, and print and/or send non-EPCS prescriptions.
Any prescriptions added or modified by a Prescribing Agent will include their name in the Prescriber column of the Pending Medications list.
Prescribing Agents can approve and send or print prescriptions on behalf of a Prescribing Clinician. The Prescribing Agent’s information will be included in the prescription.