
Learn more about creating Client Records and Demographics
The Demographics tab is home to all of your client's important information (make sure to triple check these tabs for accuracy since this is where you will pull vital marketing and SMS reminder information).
Here is where you will input your client's personal identifiers, such as their address, birthday, phone number, and email.
The subtabs located near the bottom of the window is where all other information for your client is stored, like booking alerts, important notes, customized service times, and more!
To navigate through the article, just click on one of the tab titles below:
| 👥 Demographics | 📝 Popup Notes | 🌟 Other |
| 💻 General | 💥 Booking Alert | ✉️ Emails |
| ⚕️ Medical | 💬 Communication | ⏰ Service Times |
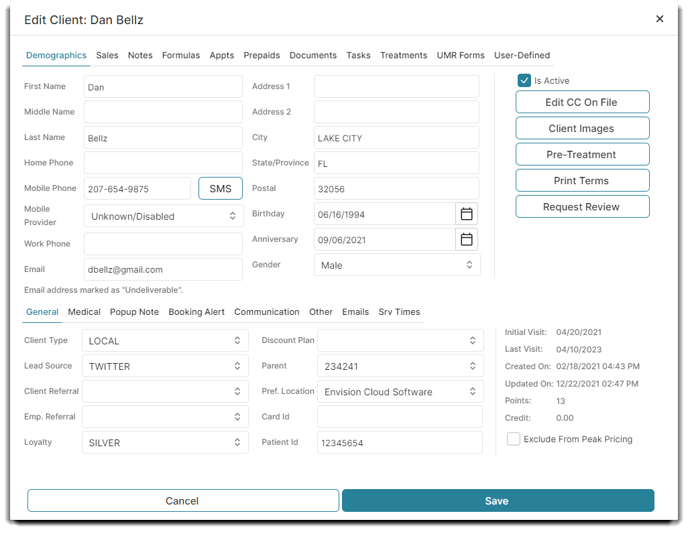
👥 Demographics
On this screen you can add/edit the clients demographical information. You can also quickly view the client's Initial Visit, Last Visit, Created Date, Updated Date, Loyalty Points, Credits and if they are excluded from peak pricing.
Client Name
These are standard fields. We recommend always inputting both the first and last name.
Phone Number Fields
The phone number fields are optional information. However, if you wish to take advantage of SMS appointment reminders, then you will need to enter a mobile phone number.
You must be signed up for the SMS feature in order to utilize the two-way SMS appointment reminders. SMS Text Messaging is available as an add-on to Envision. You can update your account on the Account Management Subscription Page.
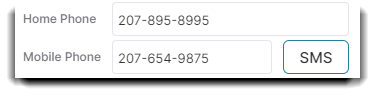
Send SMS Button / Mobile Provider Selection
The Send SMS button will show if you are using two-way SMS text messaging in Envision. Clicking to Send SMS will open a screen to show SMS text messages sent to and received from this client.
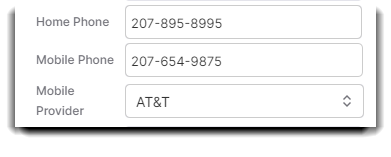
The Mobile Provider selection will show if you do not have a two-way SMS messaging account in Envision. Entering the client's cell phone number and choosing their provider here will allow appointment reminders to send to the client's mobile phone as a text message.
- With two-way SMS text message enabled (SMS button available).
- Without SMS enabled.
Email fields are not required by the system but it is recommended to always capture them for appointment confirmations as well as marketing.
Address Fields
The address fields are standard address information. It is recommended that you capture this information for every client.
Birthday
This field allows you to collect a client's birth date information for use in marketing and reporting.
Anniversary
This field allows you to collect a client's wedding anniversary for marketing use.
Gender
Select the client's gender from the drop-down selection box.
Active
If a client no longer visits your business you are able to set them as inactive. Once they are inactive they will no longer show up on the appointment calendar to book or the point of sale to check out, but they will show up on reports. You can reactivate a client at any time.
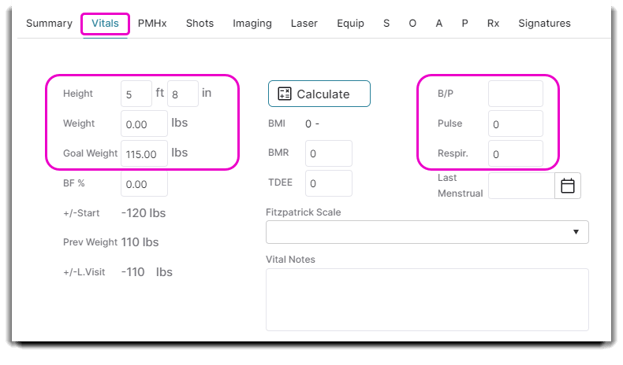
Pre-Treatment
These health metric fields can be filled out prior to treatment.
Pre-Treatment is available for PatientNow Essentials. To upgrade, please contact our Sales Team at 800.436.3150 or sales@patientnow.com.
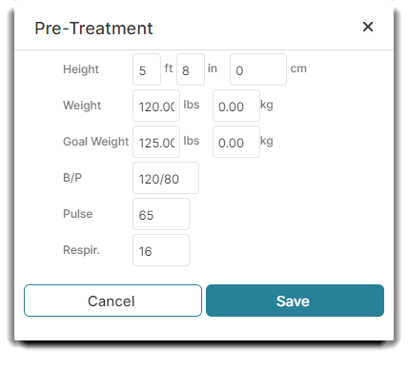
Any changes made in the Pre-Treatment window will appear in the client's Vitals section on their Treatment Screen.
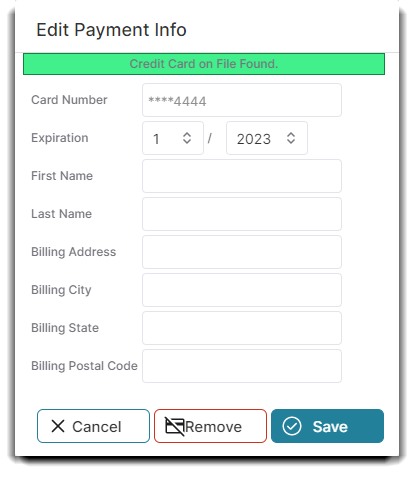
Edit CC On File
Choose this option to enter, update, or remove a client's credit card information held on file.
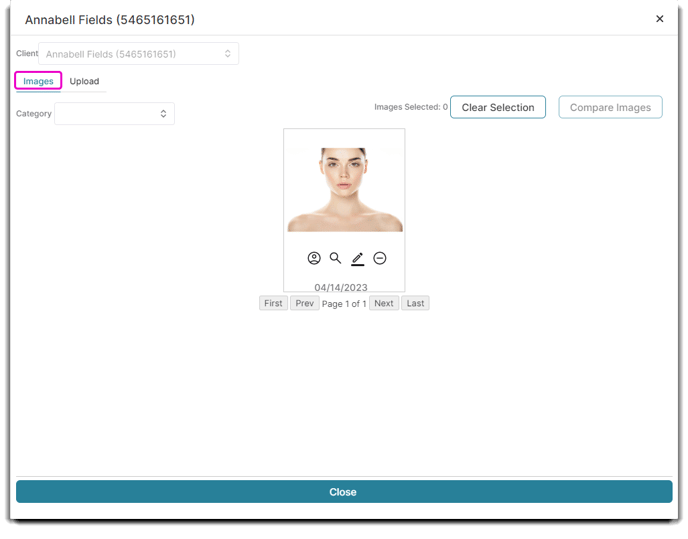
Client Images
The Client Images button appears when a Google Drive or a Dropbox account is linked in Company Settings. Here client before and after images can be uploaded and saved to the Client Profile.
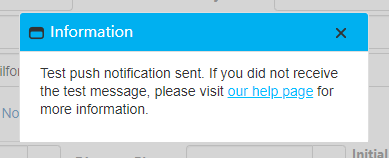
Test Push Msg
With a Custom Mobile App or Enhanced Custom Mobile App, you have the capability to communicate with clients using Push notifications. This button can be used to test the notification and ensure a client receives them.
______________________________________________
💻 General
Client Type
Client Type is an optional classification system for your clients. Some examples of common Client Types would include Seasonal or Family.
Lead Source
Lead Source gives you the ability to track where your new clients are coming from. It is recommended to always use this field to help assist with marketing.
If the client was referred to your business by another client, the name of the person who made the referral can be selected here. You can also enter this when adding a client from the Calendar or Sales Register. This is especially important to enter if your business uses a loyalty program to award points for referrals made.
Emp. Referral
If the client was referred to your business by an employee, the name of the employee who made the referral can be selected here. This is important to enter if your business tracks employee referrals.
Loyalty Program
Select a Loyalty Program for the client if you have set up a program to reward clients for purchases or referrals.
Discount Plan
Select a discount plan for the client if you offer a repeat discount for each sale.
Parent Account
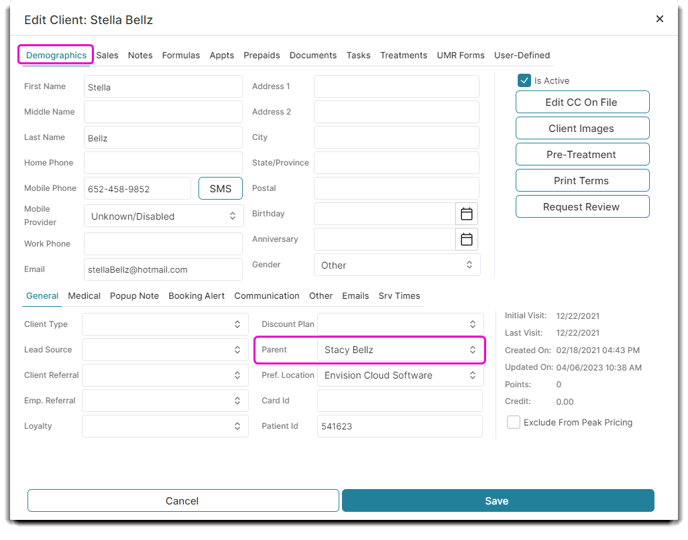 Link the client account that is the "parent" of this account. This is used mainly for children who have the same billing or membership information as a family member.
When a parent account books online, Envision will allow the parent account to select the person they want to book an appointment for (themselves or the child).g
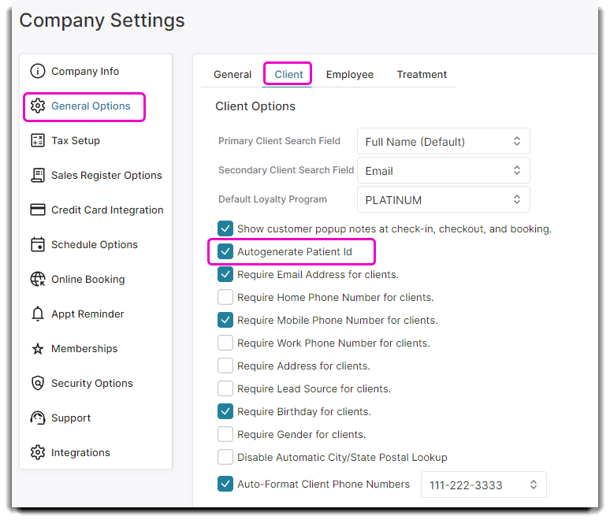
💡 Helpful Tip: Parent accounts will only work once you have created their Client/Patient ID. If you have the Autogenerate Patient ID setting checked in your Company Settings, you will have to manually create ID numbers for existing clients. Autogenerating Client/Patient ID's only applies when a new client is created after you have saved this setting.
Preferred Location
This option is relevant if your business has multiple locations. Select your client's "home" location here.
Card ID
Enter the card number for this client, if cards are issued.
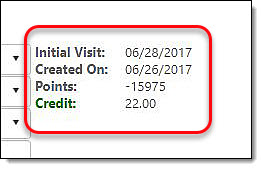
Initial Visit
This is a read-only field that shows when the client first had a sale at your business.
Created On
This is a read-only field that will display the date that the client record was created.
Loyalty Points
This is a read-only field that will show the client's current loyalty point balance. Loyalty points are awarded by enrollment in Loyalty Programs.
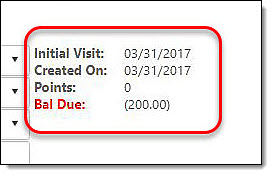
Account Balance
If the client has a credit or owes money on their account, the amount will show here. Amounts that are owed to the business will show in red and credit will show in green.
*Client accounts are a feature available in the Preferred edition of the Envision program. To upgrade, please contact our Sales Team at 800.231.9445 or sales@ennoview.com.
⚕️ Medical
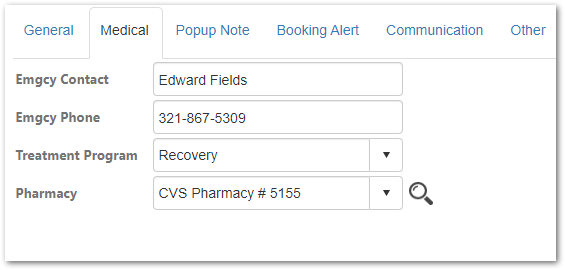
Emergency Contact
Enter the client's emergency point-of-contact information in the provided fields.
Treatment Program
A client can be assigned to a Treatment Program utilizing the Treatment Program dropdown.
Anything written in the Medical tab will also appear on the client's profile in the Treatment List.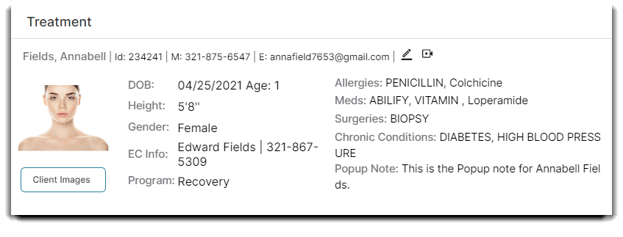
Pharmacy
You can add a Patient's preferred pharmacy here. You must add their pharmacy to the Pharmacy List in order to select it from the dropdown.
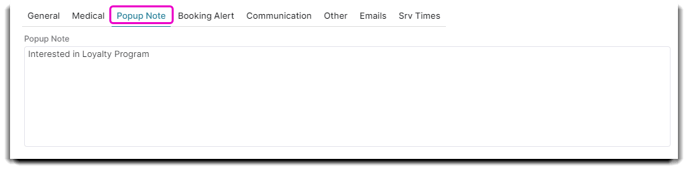
📝 Popup Note
Enter any notes for this client that you wish to open when booking. This feature will need to be enabled in the Company settings.
💥 Booking Alert
Booking Alerts are available in the Ultimate edition of the Envision program. To upgrade, please contact our Sales Team at 800.231.9445 or sales@ennoview.com.
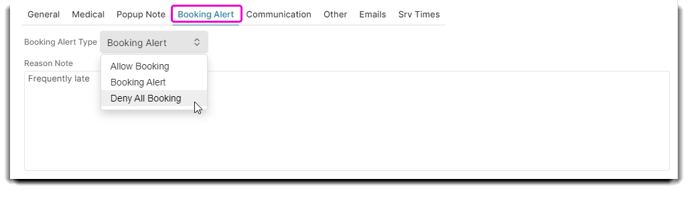
Booking Alert Type
A client can be assigned Allow Booking, Booking Alert, or Deny All Booking. When a client with a Booking Alert attempts to be scheduled, a popup window will appear. If the client has a Booking Alert, the icon will be a caution sign. If a client is marked Deny All Booking a red stop sign will appear.
Reason Note
The Reason Note field allows you to input an explanation for the Booking Alert. The Reason Note will also appear below the icon.
💬 Communication
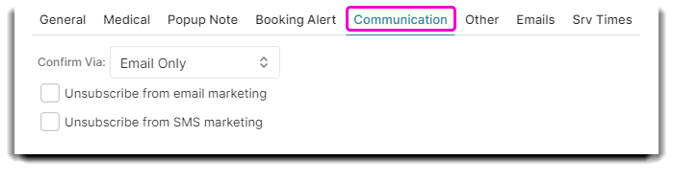
Confirm Via
From the dropdown, you can input your client's preferred method of appointment confirmation.
Unsubscribe from marketing emails
Selecting this checkbox will remove the client from receiving email marketing campaigns.
Unsubscribe from SMS marketing
Selecting this checkbox will remove the client from receiving SMS marketing campaigns.
🌟 Other
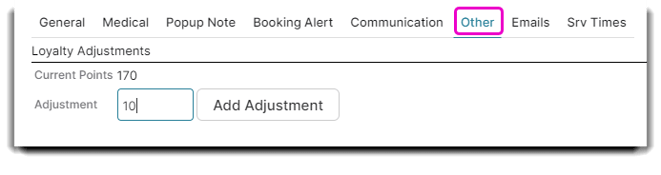
Loyalty Adjustments
A client's loyalty points can be adjusted by adding a positive amount to their points or entering a negative amount to reduce their points.
✉️ Emails
Envision only logs emails sent through the Envision program. Any responses or personal client emails will not be logged.
Have you created a marketing campaign or emailed specific clients but cannot recall who already received your message?
Envision has a quick and easy solution for you to see a client's email history including marketing campaigns, automated marketing, receipts, reviews, service reminders, and confirmations.
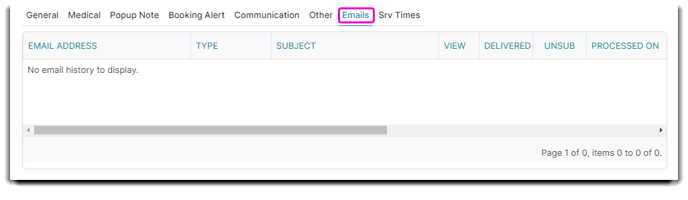
In this tab you can view:
- Email address the message was sent to
- Email type (receipt, service reminder, automated marketing, campaign, confirmation, or review)
- Email subject
- View the email body
- Email delivery status
- Email unsubscribed status
- Date the email was created, sent, received, and opened
- Date the client unsubscribed
- Date the email bounced
 Another great feature is that you can view the exact email your client received!* Easily click the magnifying glass to open the message. The email will popup on your screen.
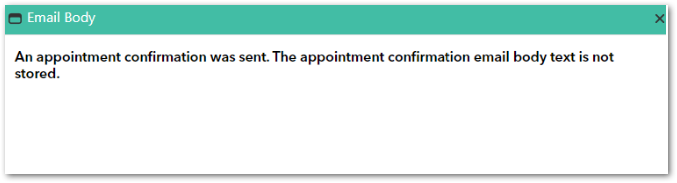
You can only view the full email body text for marketing templates you created and sent to clients through Envision.
You will not be able to view body text for any automated marketing or appointment confirmations , receipts, or client reviews through this window. When you click view for these message types, you will only see the text that was sent without any email attachments, like the example below:
⏰ Service Times
There are many factors that play into a client's service time, like hair length, texture, or previous color history (such as black, box-dyed hair). This feature enables you to customize and save service times for specific Clients who may take more time than your standard service.
Please Note: Adjusting the service time in the client record with only effect that specific client. Once saved, whenever you schedule that service for that specific client, the services time will automatically adjust to the new one you saved in their record unless removed.
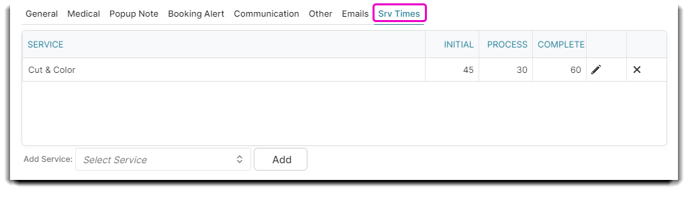
To create an override, click the Add Service dropdown and type in the service you want to change this client's service times for, then click Add.
Next, select the pencil icon to edit the initial, process, and complete times. Click on the checkmark when finished (to cancel click the 'x'). If you want to remove a service override, simply click Remove to the right of the table.
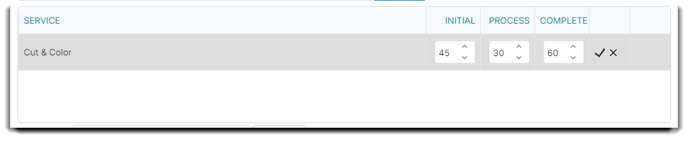
Click Save on the bottom of the record when you are finished.
These changes will also be reflected in your client's appointments when they book online.